In this article, we’re going to take a closer look at integration with Facebook so that things like your checkout views and purchases are reported back to Facebook effectively.
There are two methods of integrating with Facebook and we’re going to cover both below:
- Facebook Pixel (client-side Javascript tracking)
- Facebook’s CAPI (server-side notifications)
The most popular and most commonly used method of integration with Facebook for almost all platforms is done by using their Javascript pixel code. This is the script Facebook provides users to place on their website and when those scripts are loaded, those events are then passed back to Facebook.
Whilst this is the most common method, it’s also the most unreliable.
As more and more browsers and extensions are releasing features to help with user privacy, more things look to block those events and tracking events from getting sent back to Facebook. So if for any reason that script can’t be loaded on the user’s device, no data will get passed back to Facebook.
A more reliable method of sending data is server-side notifications, this is something that triggers in the background and removes all dependency on scripts loading on the users device and the impact of adblockers.
Below we’re going to cover how to set each option up and how they work.
1. Standard Facebook Pixel
Under your product settings, you’ll need to go to Checkout > Tracking
Here you can enable the option for Facebook, and you’ll need to enter your Facebook Pixel ID into the field.
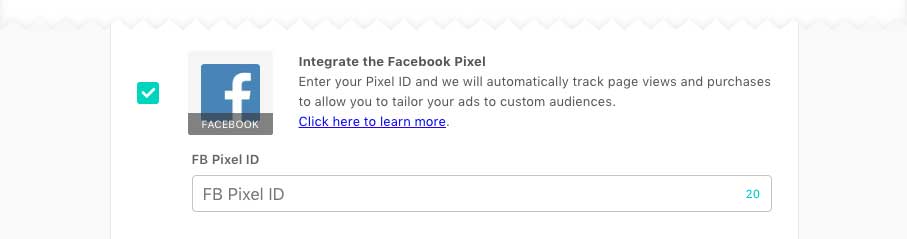
Once done, you can save your product, and your Facebook pixel and purchase event tracking is now saved into your product and funnels.
ThriveCart will automatically handle your Facebook codes throughout the products funnel and report data back to Facebook:
- PageView (default, loaded on each page in the funnel)
- InitiateCheckout (this loads after the user has entered their email address. This event use to load immediately when someone landed on the checkout page, but recent changes from Facebook now require specific event parameters – including an email address)
- ViewContent (loaded on the upsell & downsell pages).
- Purchase (loaded on the success page or before redirecting to your custom success page and for each product the customer purchased in the funnel).
For each event we include a range of data and parameters such as the value, currency, product type, ID, name, and more.
Example content_type: product and the Id of the product, for example, product-xx, bump-xx, upsell-xx, and downsell-xx where ‘xx’ would be the product ID from your account.
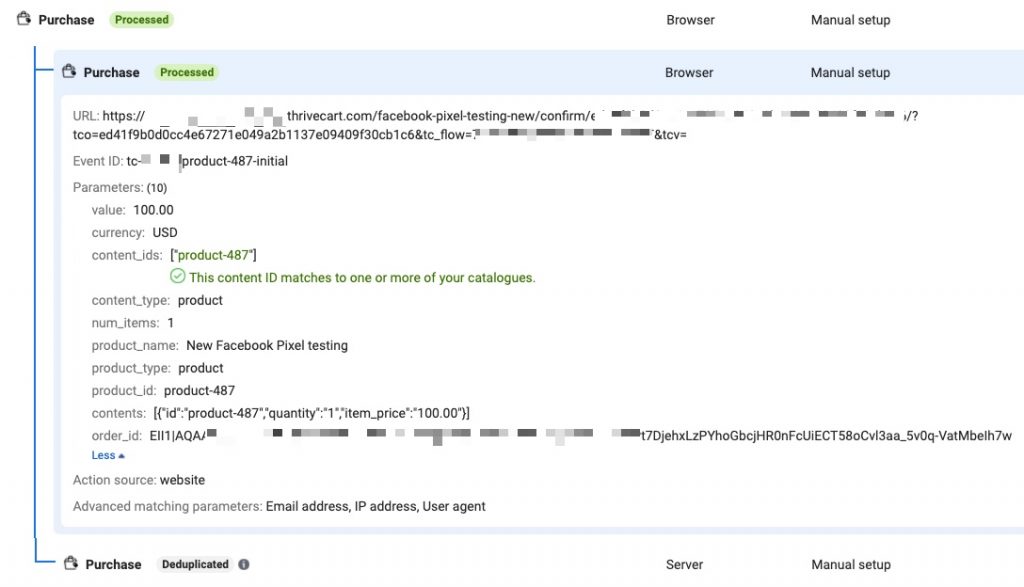
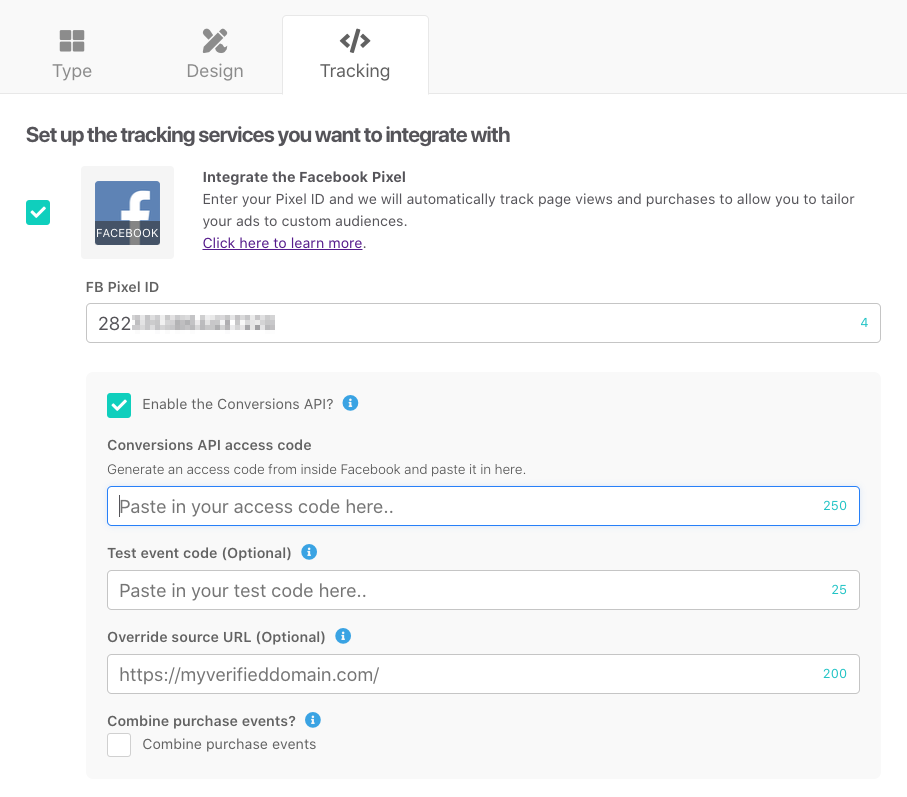
By default, we send one purchase event for every item in the funnel that was bought. As an example, if you buy the Product, Bump and an Upsell, that’s 3x Purchase events with info for each one. You can check the box to ‘combine charges’ to send a single purchase event for the entire order.
The amount reported back to Facebook is the amount the customer paid, not what they could pay in the future. We do not include taxes or shipping in this value.
Using a custom success page?
When running a custom success page, the ThriveCart hosted success page is briefly loaded in the background prior to redirecting to your custom page (the customer doesn’t see this).
We have a short delay to try and give time for 3rd-party scripts (like this) to fire and report back, however depending on the users device, internet speed, and the time it takes for your site to load it could be possible that the browser Pixed based purchase event doesn’t have time to load before the customer is taken to your site (if the event isn’t being blocked from the notes in the top of this article).
How are Event IDs generated?
Needing to know how the Event IDs are generated for deduplication?
The Event IDs we generate are built by tc-[product id]-[unique viewer id]-[unix timestamp]
This means the same device won’t generate the same event ID again (they have to be unique)
Purcahse events also have their own ID They’re: tc-[order id]-initial (for the initial purchase event if it’s combined to a single event), tc-[order id]-[product/upsell/downsell]-[item id]-initial if it’s multiple events (e.g. tc-2135-product-5 and then tc-2135-upsell-3 etc).
Rebill ones are tc-[order id]-[product/upsell/downsell]-[item id]-rebill_x (where X is the number of rebills that have been tracked so far).
2. Facebook Conversion API (CAPI)
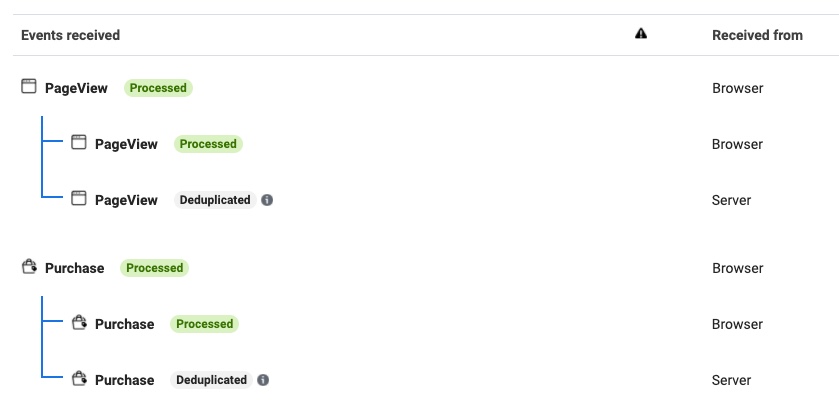
By using our CAPI integration, this will run in addition to the Pixel events. We’ll automatically pass event IDs through to Facebook so they’re automatically deduplicated.
The events we support with this are as follows:
- InitiateCheckout
- ViewContent
- Purchase (also sent for rebills)
- Lead (on cart bounce)
By default, the domain included will be that of your ThriveCart account ( xxx.thrivecart.com ) or of your Custom domain (when enabled). You can override this to another domain that you have verified within Facebook if you wish.
Purchase events are triggered asynchronously and so happen regardless of whether the user abandons or lands on the success page etc. So it’s possible you’ll see server only events for purchases if the customer abandoned the funnel (as no Pixel event is loaded here there won’t be anything to deduplicate).
The Lead event will be triggered in the event the customer bounces from the checkout page (after entering their email address).
Setting up CAPI reporting along side the Pixel reporting
To enable CAPI support, after entering your Facebook Pixel ID in the field, check the box to enable the Conversion API.
To get the Conversion API Access code, you can follow the instructions below. Please note that this is subject to change at any time at Facebook as they regularly change processes.
Load up the Facebook Ads Manager and head over to the Events Manager area. Make sure you select the same Pixel as you’ve entered in your Pixel ID field.
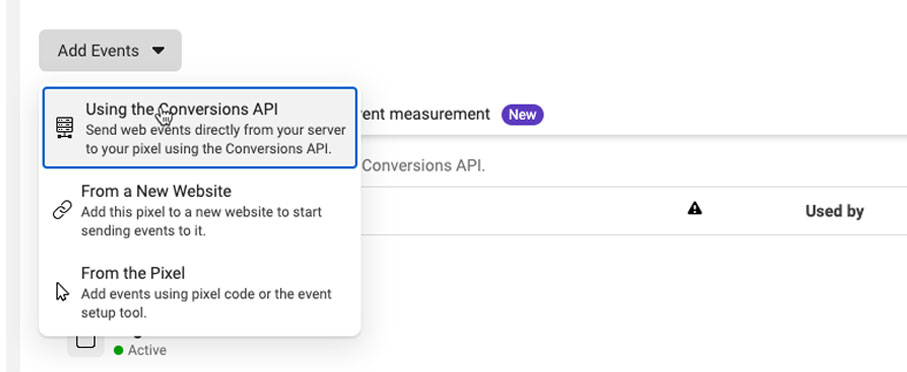
Then you’ll want to click the button Add Events and select the option “Using the Conversions API”
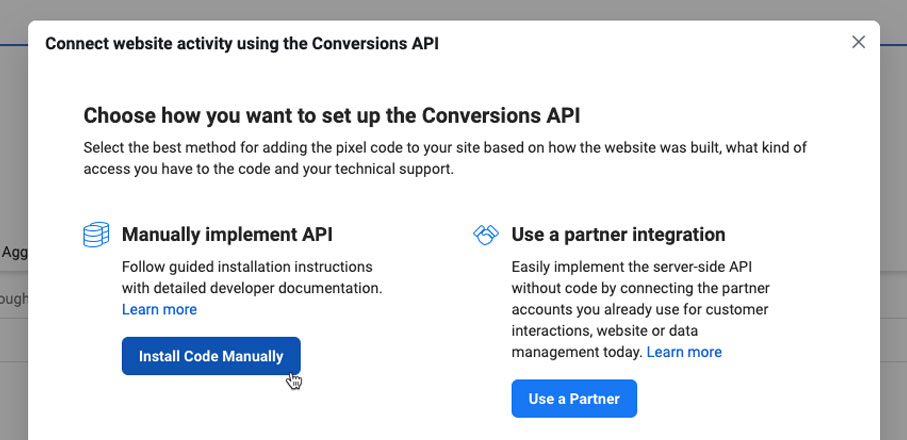
On the next screen, you’ll want to make sure you choose the option to Install Code Manually
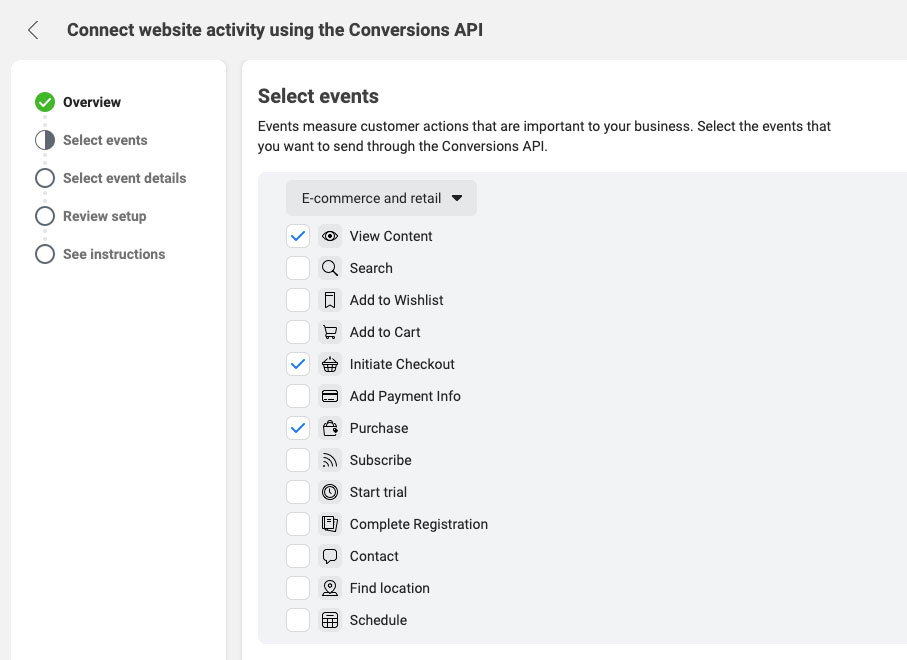
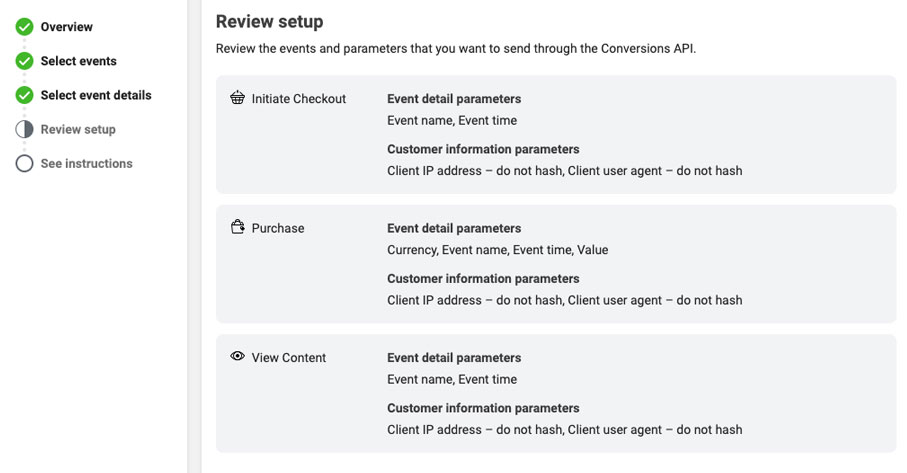
Next, you’ll want to ensure you’re under e-Commerce & retail and then select the View Content, Initiate Checkout, and Purchase events (these are what we’ll pass back).
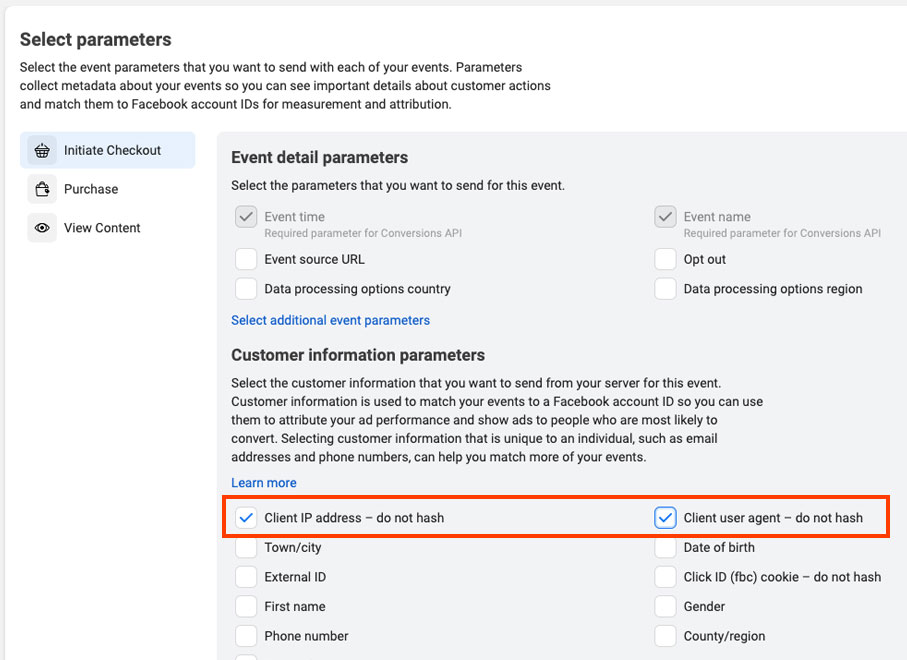
After selecting these events, there is a couple of fields you will need to ensure are selected for each event. If you check the Client user agent – do no hash option, this will automatically check the other one.
Facebook will show you a summary of these 3 events and they should all match like below.
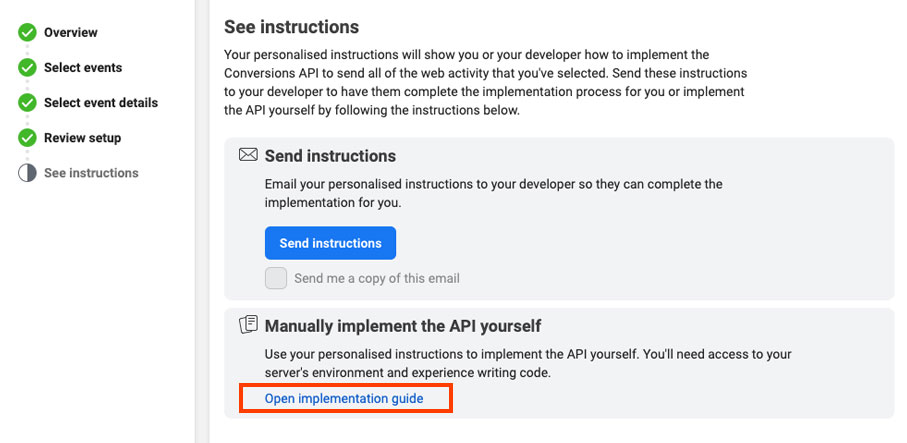
Finally, You need to click the link Open implementation guide. This will launch a new tab/window.
In the new window that was opened, you’ll need to click the Generate Access Token button.
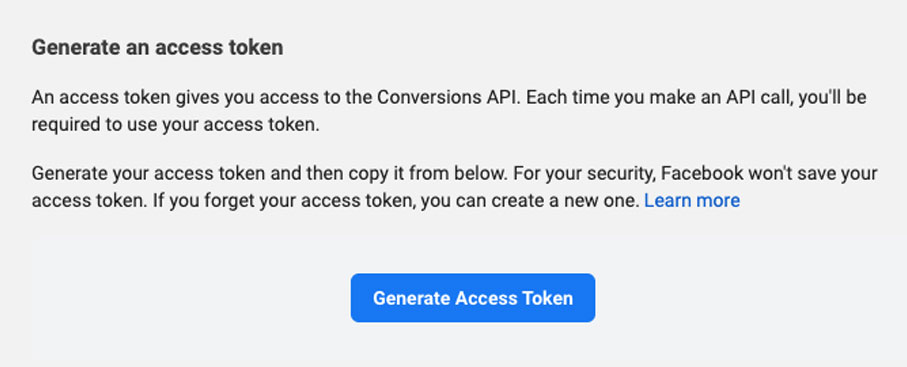
You can then close this window, and click on the Finish button back in the original setup area.
You will want to save this Access Token in the Conversions API access code field (shown above in your products settings).
You can use this access token across multiple products in your account as it’s associated with that Facebook Pixel.
Now you can save your product and ThriveCart will handle everything with Facebook around this event reporting for this product.
Testing CAPI
You can use the Conversions API’s ‘Test server events’ functionality to verify that your access code is working correctly. This also allows you to test your product without reporting your actions as live events into Facebook.
When you’re ready to take live orders and pass real event data to Facebook, you will want to remove this test code from your product’s settings.
You can get the ‘test event code’ from the test events tab:
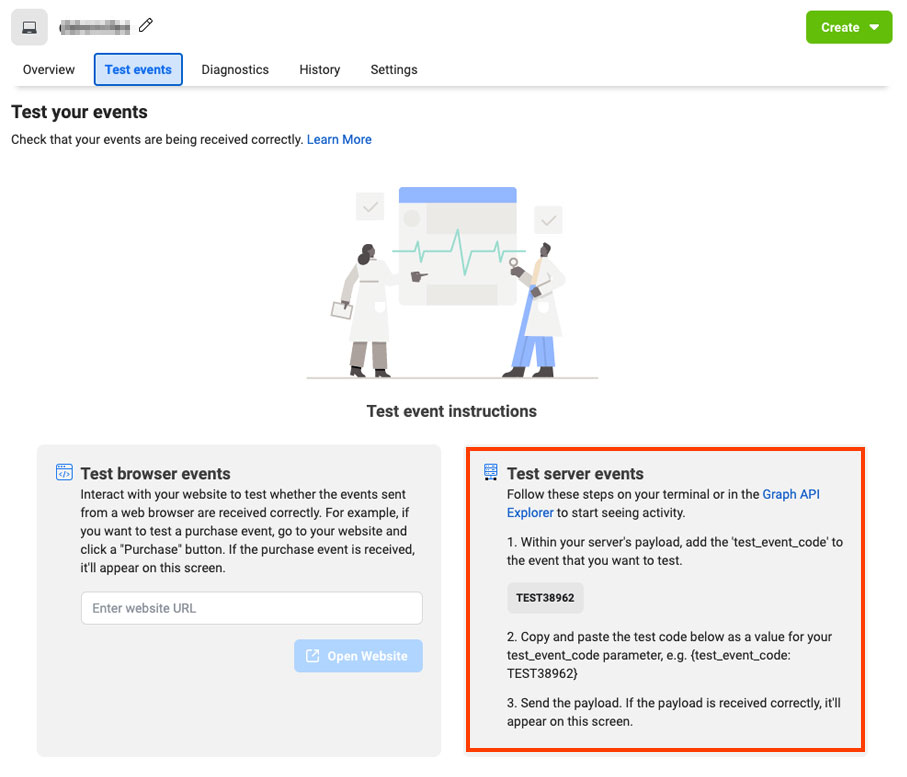
When this code is added to your product in ThriveCart and you’ve saved the product settings, you’ll want to put your checkout URL into the field on the left hand side ‘text browser events’ and then click ‘open website’. This will launch your checkout page and reporting will be tracked into this page in Facebook within a few seconds of it triggering.
You will likely want to have your product in test mode so you don’t have to complete live payments.
When you’re ready to go live and track events in Facebook officially, you’ll want to remove the test code from your API settings.