Sign in to Google Analytics and select your account, and then the property you wish to use with GA4.
Click the Admin icon in the bottom-left of the screen.
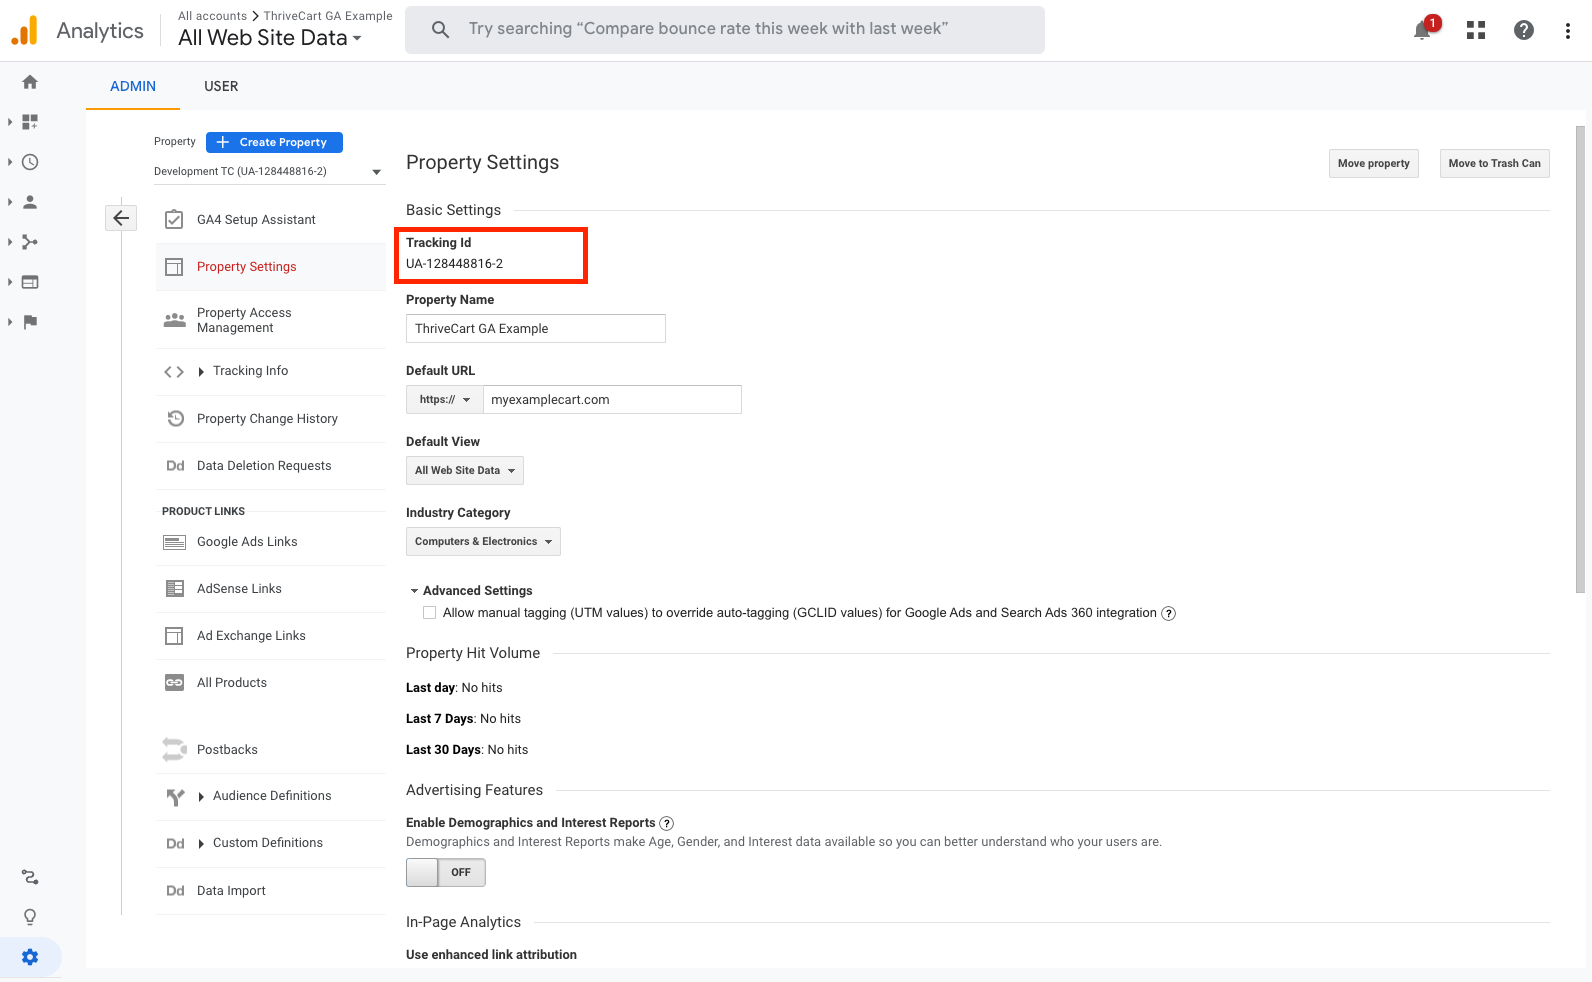
Select ‘Property settings’ from the middle section. On this screen, copy the property’s ‘Tracking ID’ (example: UA-123456-1), as we will need this later.
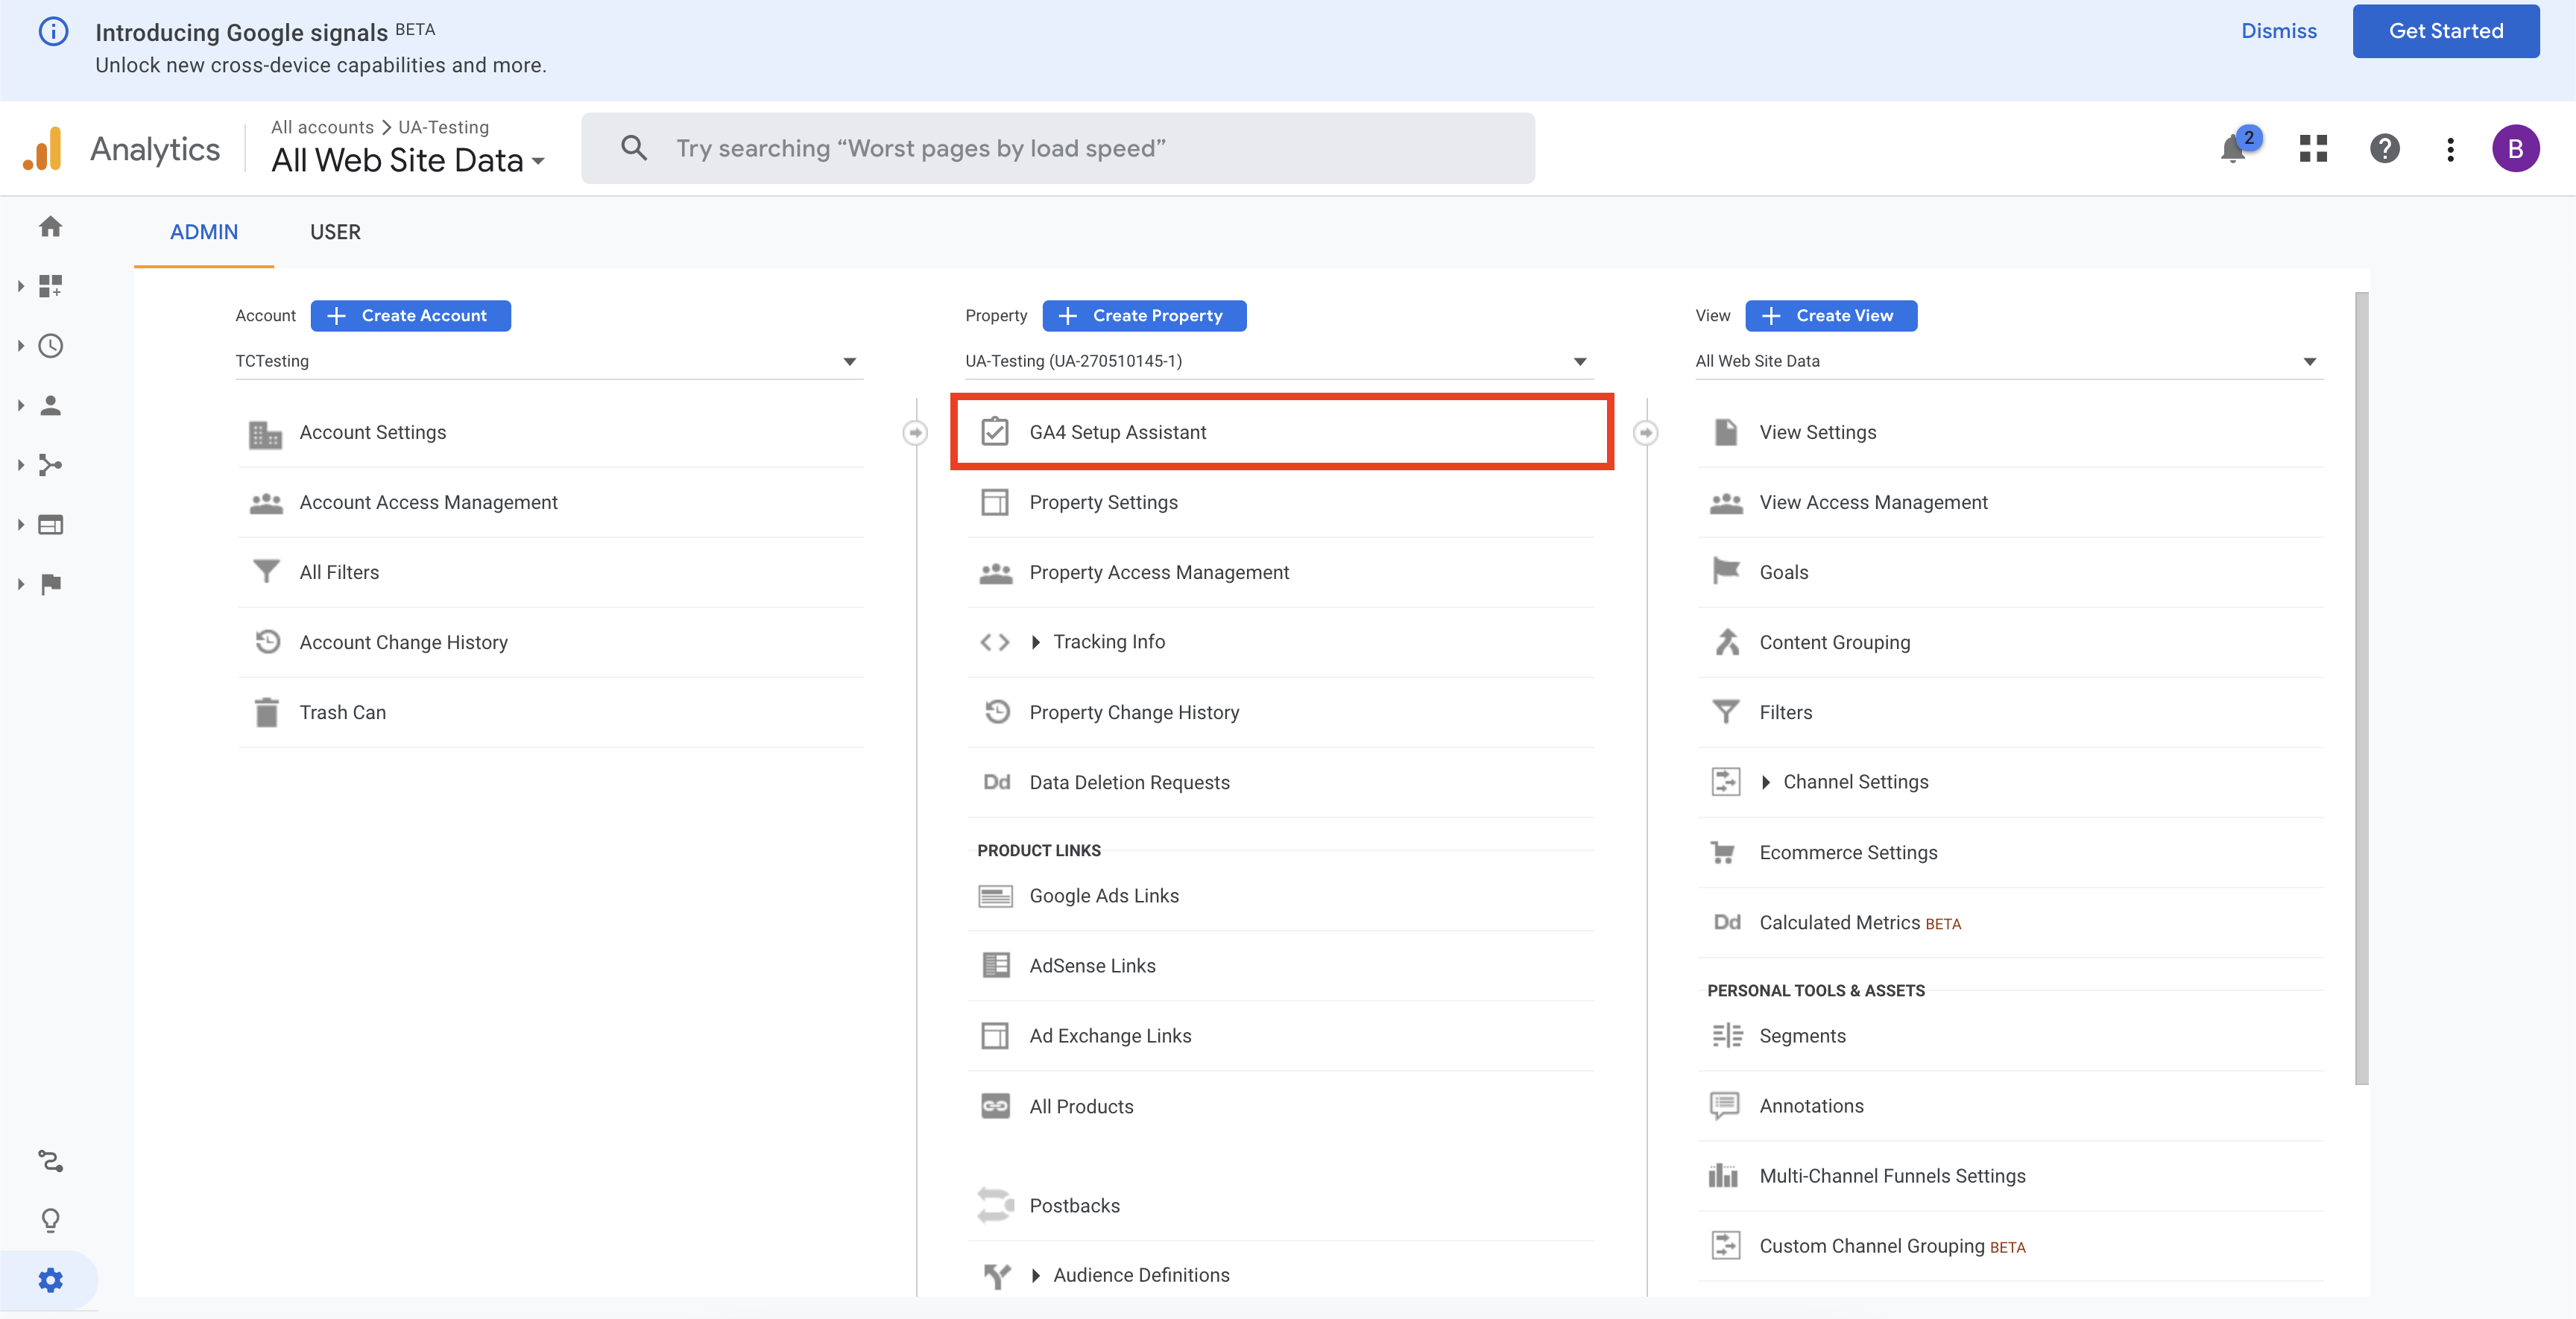
Click the arrow to go back to the main Admin area, and select ‘GA4 Setup Assistant’ in the middle section.
Click the ‘Get started’ button under ‘I want to create a new Google Analytics 4 property’.
Important: Check the option to ‘Enable data collection using existing analytics.js and gtag.js tags’.
Once created, select ‘Go to your GA4 property’.
From the Setup Assistant, review the data collection and property settings as required, and mark as completed when finished.
This process configures Google Analytics so that data and events will be sent to both your existing UA property and your new GA4 property.
Head back to ThriveCart, and under your product settings, go to Checkout -> Tracking.
Enable the ‘Google’ option, and paste in the property ID we noted before. If you are using Google Analytics with ThriveCart, this property ID will remain the same and no changes need to be made inside of ThriveCart.