In the video above, we look at how you can connect your Kunaki account to ThriveCart so that you can automatically send customer information to generate fulfilment in Kunaki.
Your ThriveCart checkout set up
When using Kunaki as a fulfilment service for your product, there are a number of fields that are required to be set on your checkout in order for the order to be successfully accepted by Kunaki.
- Customer name
- Customer address
If you are not collecting the above information, orders may not be accepted by Kunaki.
Sending orders to Kunaki
Passing customer and order information to Kunaki or any fulfilment service is handled via the Shipping options you can create in your products settings.
This allows you to have different shipping options that fulfil different product or even use different fulfilment services.
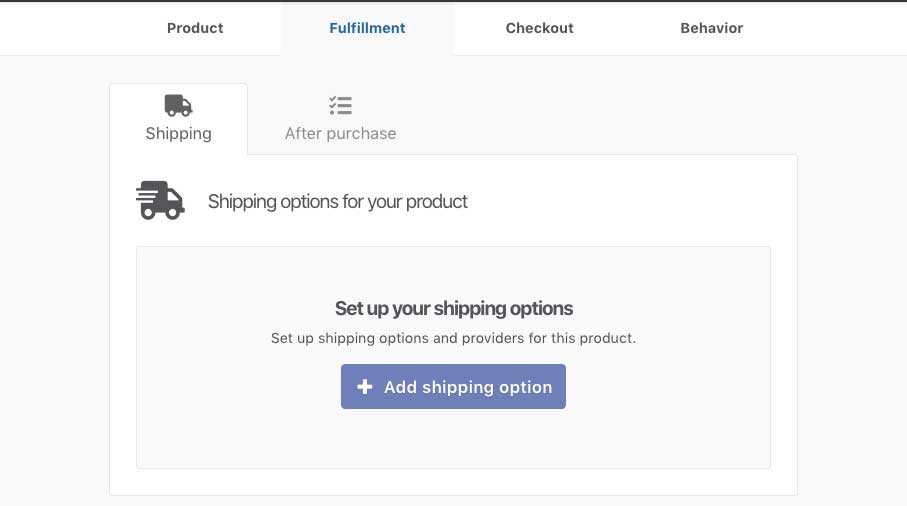
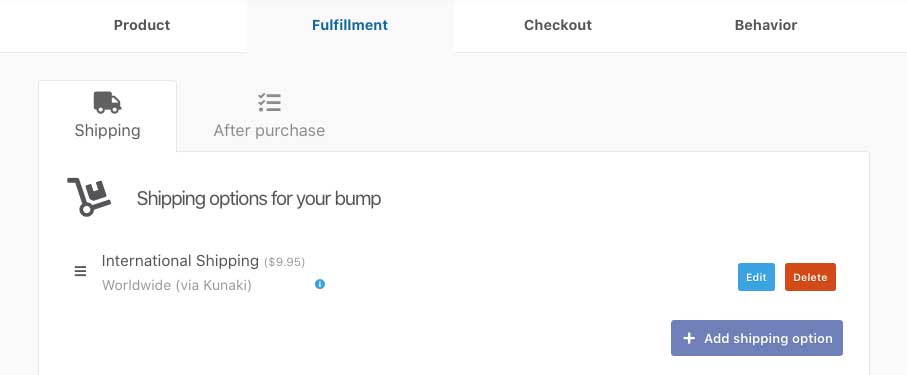
When you have created a physical product, your fulfilment tab will have a Shipping section. Here you can set shipping options for your product.
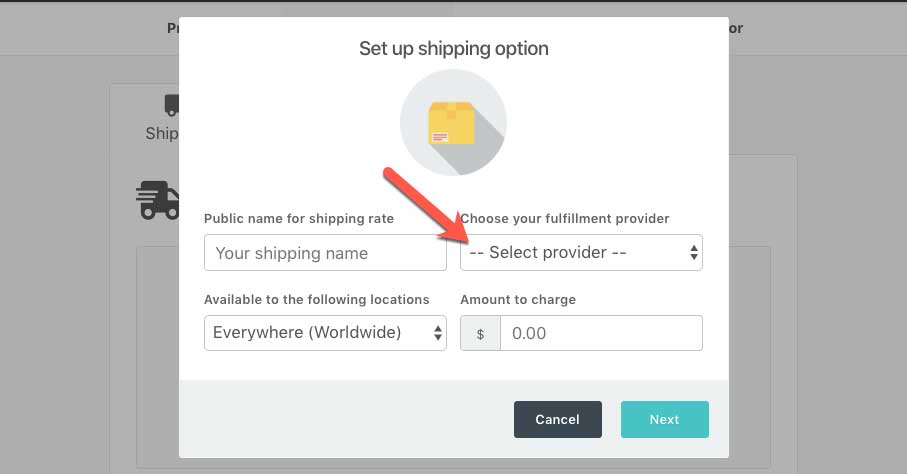
When creating or editing a shipping option you want to choose Kunaki as your fulfilment provider in the drop-down selection.
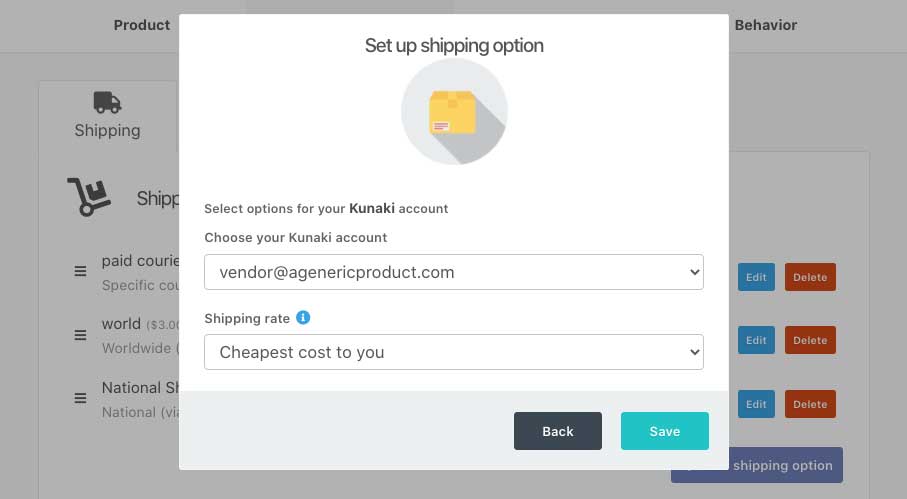
You’ll immediately be shown a new section that has you select which connected Kunaki account you want to integrate with and also what shipping rate you want to use for this shipping method.
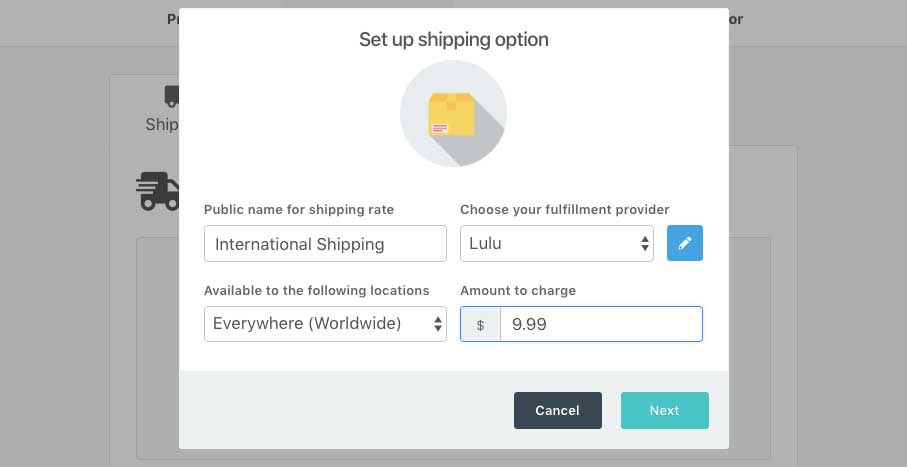
You can then set the general shipping option details like the name (which is shown on the checkout page), any shipping restrictions – like what countries are valid for this option (if a customer visits from a country the shipping option isn’t valid for, it won’t show to them), and finally how much you want to charge for the shipping option (you can have shipping free by simply entering zero here).
The next step will then be selected when this shipping option will be available, such as for specific pricing options, specific quantities, if the customer accepts/declines the bump. These options will be based on your product settings at this time.
Finally, we get to the Kunaki specific options.
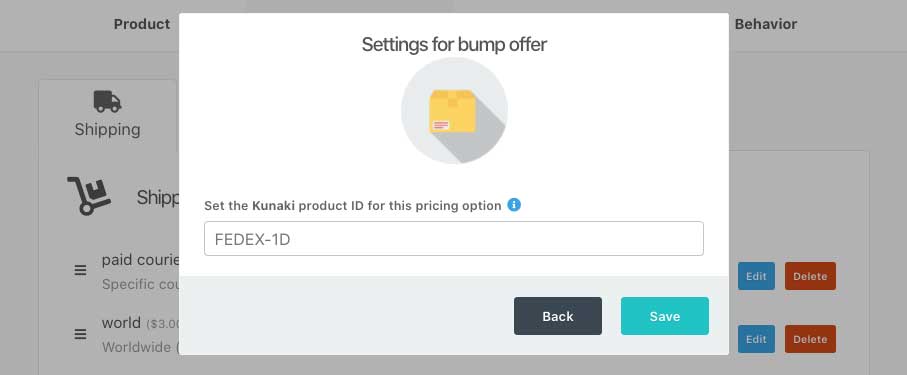
Here you will need to enter the Product ID from your Kunaki dashboard. This is so the order in Kunaki is correctly created for that product using the customer’s information passed to them.
Once saved, you’ll have a shipping option set up for your product that when selected by the customer at checkout will now fulfil this order via Kunaki.
If you have any questions, feel free to contact the support team directly here.