ThriveCart has a hugely powerful Zapier app available directly within Zapier here https://zapier.com/apps/thrivecart/integrations
We have 18 powerful triggers for you to choose from, each with its own built-in filtering options allowing you to trigger Zaps for specifics products, groups of products, pricing options, coupons, and even affiliates!
A list of our supported triggers can be found below:
Product-Related Triggers
All our product triggers fire for free and paid products, including free trials and where the pricing or a coupon may make the product free.
- Cart Abandoned
Triggers when a customer enters their email address into the checkout page but leaves without making a purchase. - Product Purchase
Triggers when a specific product (or products) are purchased. - Bump Purchase
Triggers when a specific bump (or bumps) are purchased. - Upsell Purchase
Triggers when a specific upsell (or upsells) are purchased. - Downsell Purchase
Triggers when a specific downsell (or downsells) are purchased. - Payment Declined
Triggers when a customer’s card is declined for the initial payment of a product. - Refund
Triggers when a purchase is refunded.
Subscription Related Triggers
- Rebill Payment
Triggers when a successful rebill payment is made. - Recurring Payment Failed
Triggers when a subscription or split pay rebill payment fails. - Recurring Payments Cancelled
Triggers when a recurring payment for a subscription or a split pay is cancelled. - Recurring Payments Completed
Triggers when a subscription or a split pay is completed and all payments have been made successfully. - Subscription Paused
Triggers when a subscription or a split pay is paused. - Subscription Resumed
Triggers when a subscription or a split pay is resumed.
Affiliate Related Triggers
- Affiliate Approved
Triggers when an affiliate is approved to promote a product. - Affiliate Rejected
Triggers when an affiliate is rejected from promoting a product, or when their access is revoked. - Affiliate Commission Earned
Triggers when an affiliate earns commission. - Affiliate Commission Paid
Triggers when an affiliate commission is paid. - Affiliate Commission Clawback
Triggers when an affiliate commission is clawed back.
Creating Your First Zap
To get started head over to Zapier and login or create a new Zapier account if you don’t already have one.
You can click the button to create a new Zap and when asked to choose an App make sure to search for ThriveCart and use the ThriveCart [BETA] app as shown in the screenshot below.
Note. If you have previously used our older Zapier app, you may be another ThriveCart app listed with [by invite]. You do not want to select this app. It will still work for existing Zaps but moving forward, we recommend new Zaps are creating using the newer app.
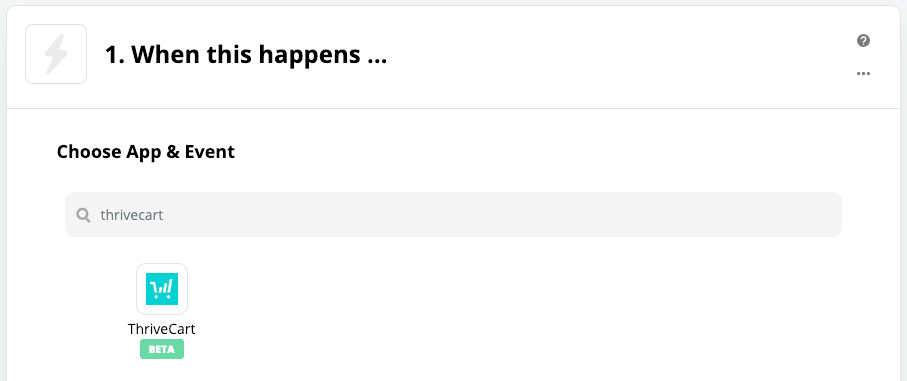
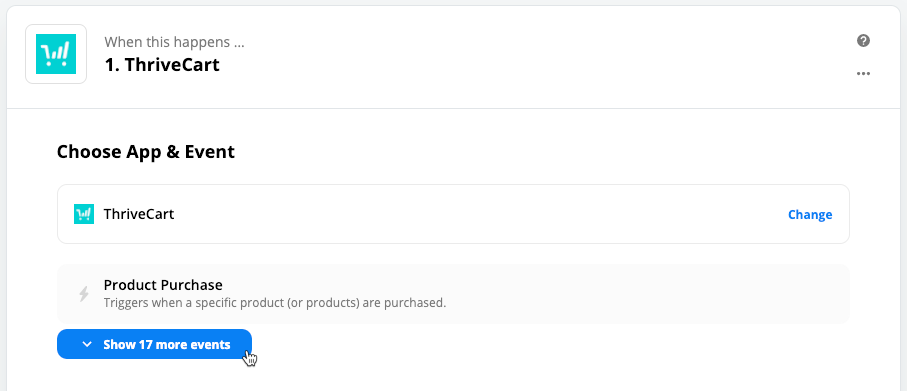
After selecting ThriveCart, you’ll then want to select what trigger you want to use (see above for the full list). If you can’t see the trigger you want to use, make sure to click the ‘show more events’ button to see a list of all the triggers available for you.
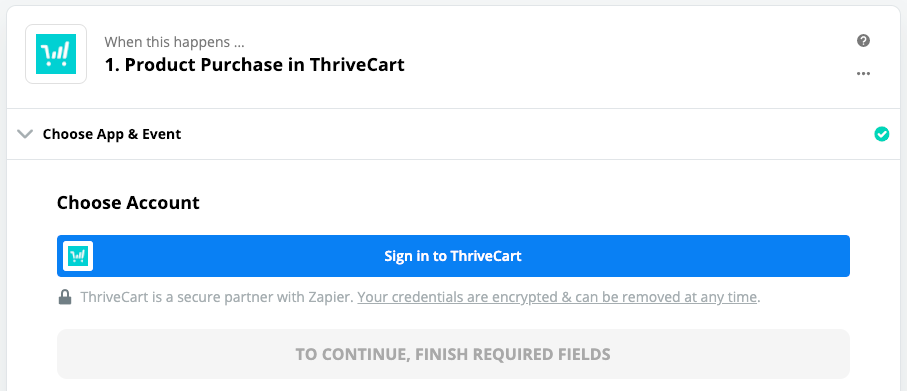
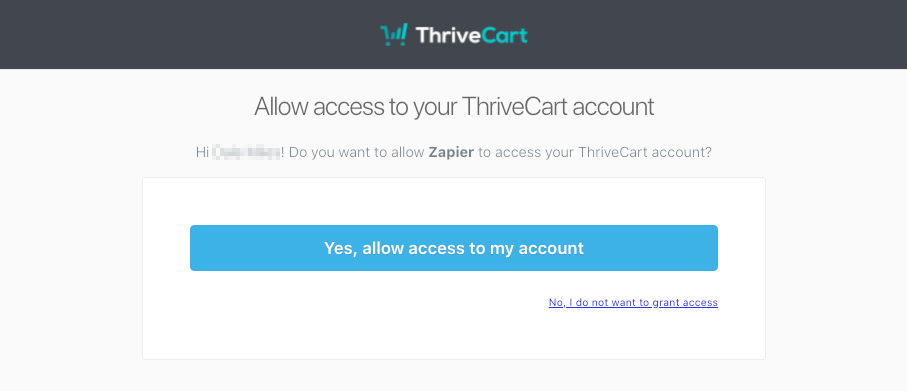
If this is the first time you’re connecting with Zapier, you’ll need to connect your ThriveCart account with your Zapier account. You can do that by clicking the button shown.
If you have access to more than one ThriveCart account, you will be required to select which account you’re wanting to integrate with this Zapier account.
Note. If you’re a sub-users on another account, the only products and data for Zaps you’ll have access to is the products the account owner has granted you access to in their account.
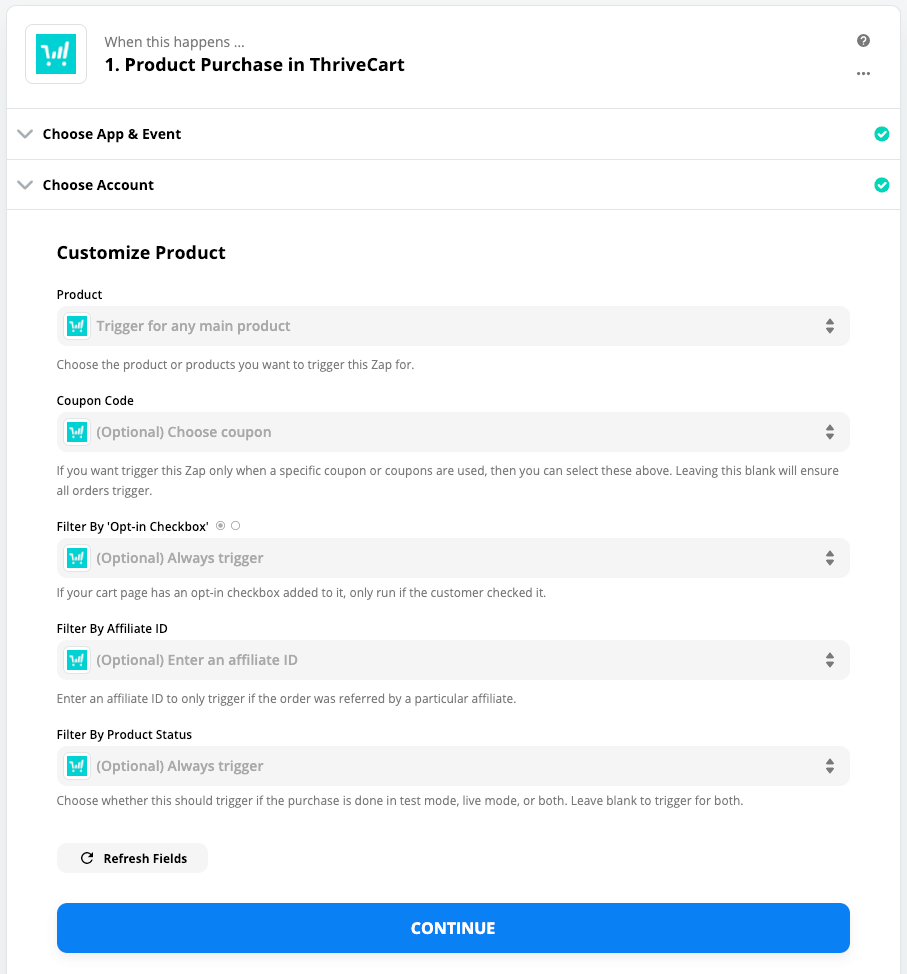
Once your account is selected, you’ll now have the option to select how the Zap triggers. Different triggers may have different filtering options, but they typically include things like:
- Selecting a specific product or products (leave blank for all).
- Selecting which payment option to trigger for (when you select one product for the zap to trigger for).
- Setting the Zap to only trigger for a specific coupon (leave blank for all).
- Setting the Zap to trigger if the customer agrees to the optional checkbox (leave blank to always trigger).
- Setting the Zap to trigger if a specific affiliate referred the sale (leave blank for all).
- Setting the Zap to trigger by the product status, such as only live orders or including orders in test mode (leave blank for all).
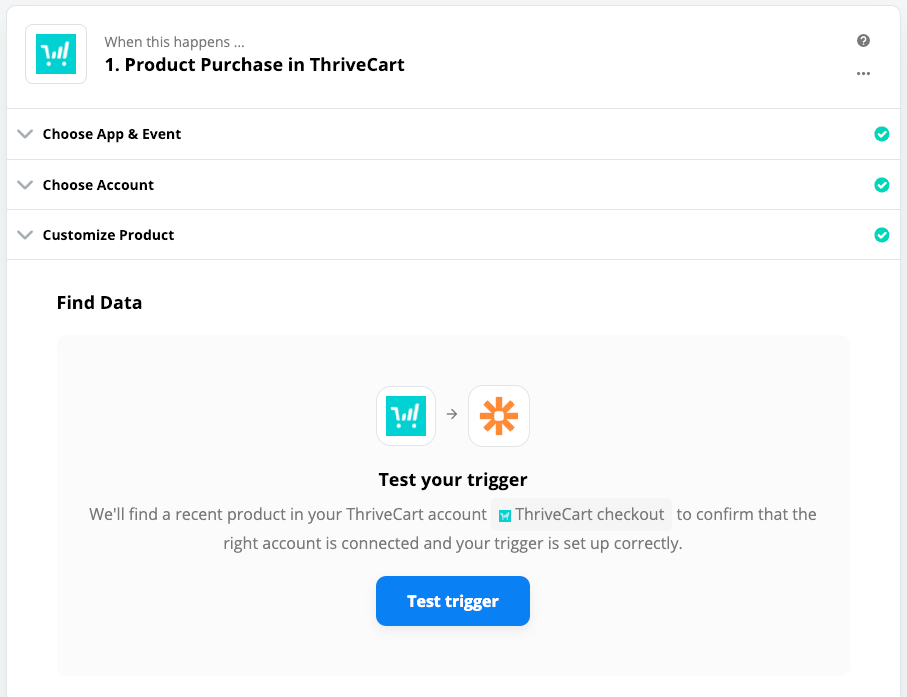
Finally, you’ll have the step to collect samples and use these in your action step. If you have had any orders or events occur for the trigger recently then clicking the [test trigger] button will pull that recent sample though. Otherwise you can default to a demo set of data.
If in doubt, go to the checkout and trigger the event you’re setting up (like completing a purchase for a product purchase trigger).
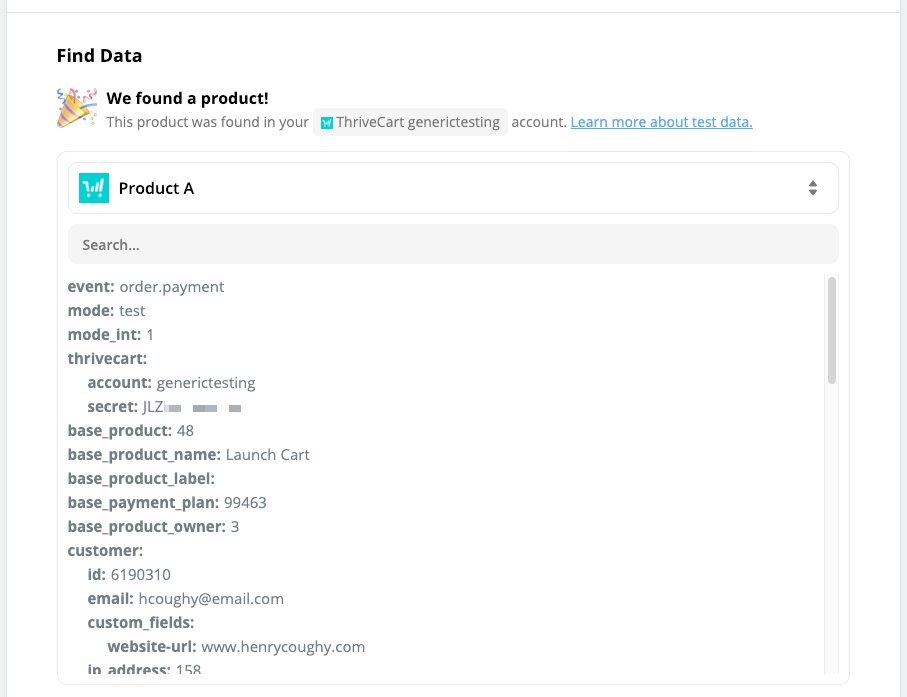
You’ll be given a ton of data you can reference in your Zaps.
The specific data will vary based on the product and purchase. For example, subscription order are going to contain more information about future recurring payments, expected rebill dates, the frequency of payments and more!
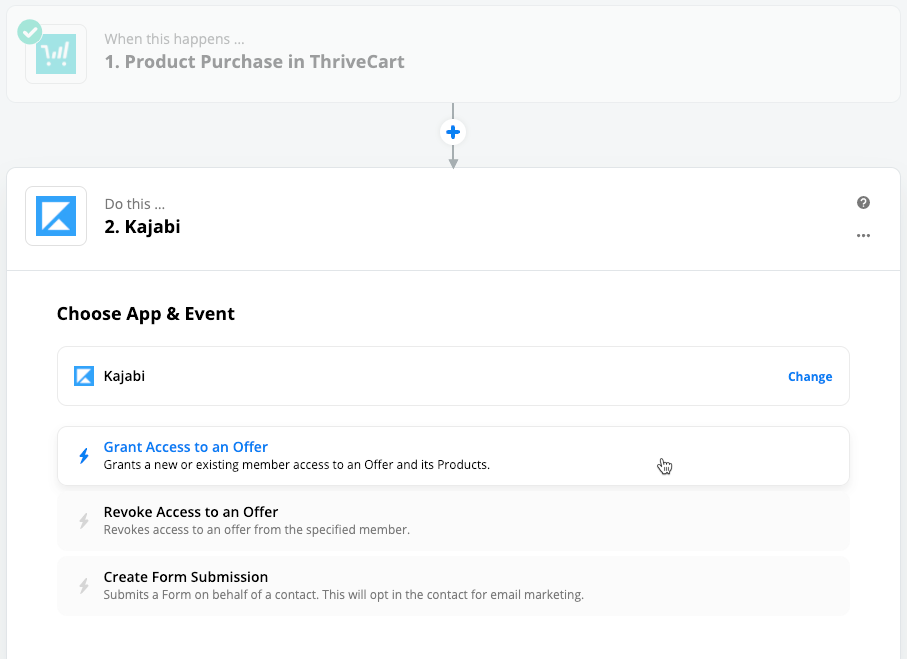
You’re then able to go ahead and set up your Action step in Zapier to integrate with your chosen application as needed.
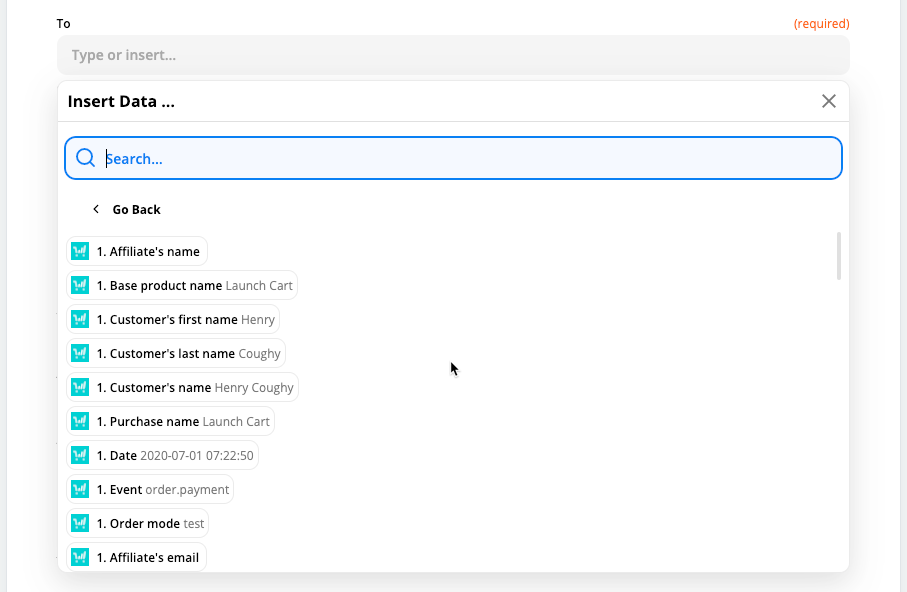
If when wanting to reference order information from ThriveCart, you can’t see all the data, remember to click the [Show all Options] button.
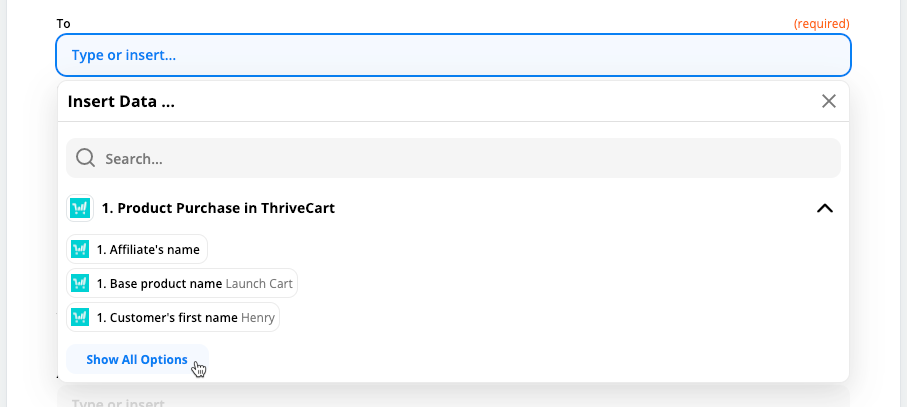
This will then let you scroll through the list of possible data available to you. If the order sample we collected has data for the specific value, it’ll show there, but you may reference things that weren’t collected in that specific sample and have that data collected in future Zaps where it is included (like Affiliate information that may only be applicable for some orders).
If you have any questions about getting started with Zapier, then feel free to reach out to our fast and friendly support team here. We’d be more than happy to help you get set up with your apps in Zapier if you’re having any trouble!
