
Within ThrivePages, you can find more image-related tools: the Asset Library and ThriveStudio.
The Asset Library is where your images and other media are uploaded, stored, searched, organized, and selected. When you want to change an image, edit it from the Asset Library to open ThriveStudio, where you can use manual editing and supported AI-assisted tools without leaving the editor.
After editing an image in ThriveStudio, you can save it back to the Asset Library, either by replacing the original or saving it as a new copy. You can then select the saved asset from the Asset Library and apply it to the current ThrivePages element. Assets remain available in your account library for reuse across supported pages and products.
ThriveStudio plan levels
| ThriveCart Account | Includes |
| Lifetime Accounts (all levels) | Unlimited visual projects, 60 AI credits per month, 2 PNG downloads, free templates, and 1 GB of storage |
| Standard Subscription | 500 AI credits per month, unlimited PNG downloads, premium templates and assets, transparent backgrounds, and 100 GB of storage |
| Pro+ Subscription | 1,000 AI credits per month, unlimited PNG, PDF, and PPT downloads, advanced Brand Kit tools, branded templates, and 250 GB of storage |
* All existing users who signed up before Tuesday Oct 13, 2026 will have an additional 2000 credits assigned to their accounts
What you can do with the Asset Library & ThriveStudio
Inside ThrivePages, you can:
- Upload images and other supported media.
- Browse your account-level Asset Library.
- Search, filter, and sort assets.
- Add favorites and tags.
- Create and manage folders.
- Rename or delete assets.
- Use stock images and icons.
- Edit images.
- Use AI-assisted image tools where included with your ThriveStudio level.
- Apply an asset to an image or media element on your page.
- Reuse the same asset across supported pages and products.
The Asset Library
Within the editor, click on the Image element to open the Asset Library where you can view, organize, search for stock images, and upload your own files.
Upload Files
To add images, PDF’s, Icons, or video (on supported subscription plans),
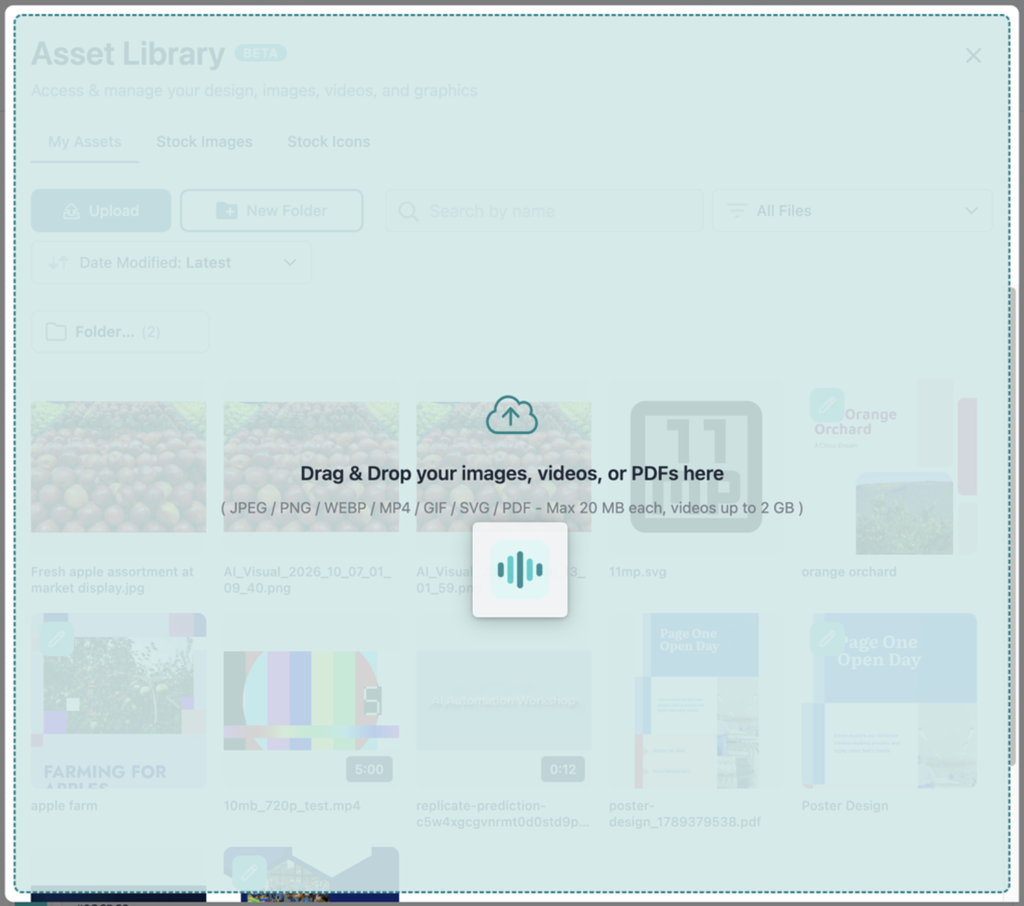
All uploaded files across products are added to your account library. The Asset Library supports:
- Images: JPEG, PNG, WEBP, and GIF
- Icons: SVG
- Videos (on supported subscription plans): MP4, MOV, and WEBM
- Documents: PDF
The standard file limit, per file, is 20 MB. Total video storage and upload limits depend on your ThriveCart plan. Video uploads are limited to 1080p resolution. Audio files are not currently supported in the Asset Library.
Search, filter, and sort
Use search to find an asset by name. You can also filter and sort your library to narrow the results.
Use folders
Create folders to organize your library and move assets into the appropriate folder. You can bulk select assets (using the checkbox on the asset) to drag and drop them into a folder to easily organize them by project, theme, or content type for easy management.
The current folder structure supports a single folder level. Nested folders are not supported.
Rename or delete assets
Use the asset actions menu (… in the top right of the asset) to rename, download, or delete an asset, or to view more details related to that specific asset.
Deleting an asset that is already used on a published page may affect the page’s media reference. Avoid deleting assets that are actively used until you confirm they are no longer needed.
View Details
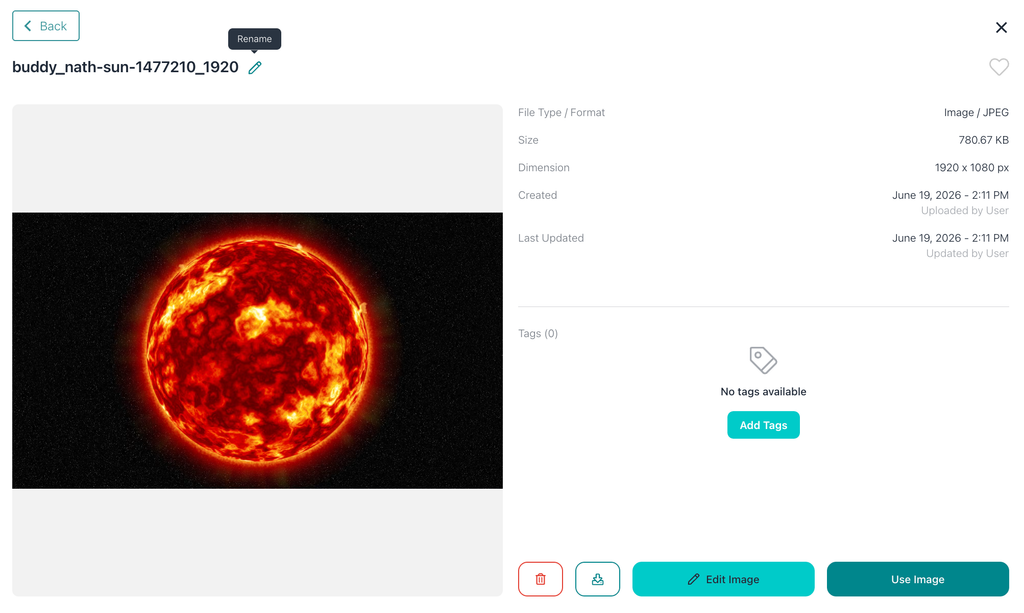
Clicking into the assets “view details” gives you a full overview of the file.
From within view details, you can edit the file’s name, set it as a favourite by hearting it in the top right, add tags, delete the asset if you wish, as well as access the image editor.
Migrating Images from the Legacy Media Library
The first time you load the new Asset Library within ThrivePages, you may see a banner to migrate your content into the new Asset Library:
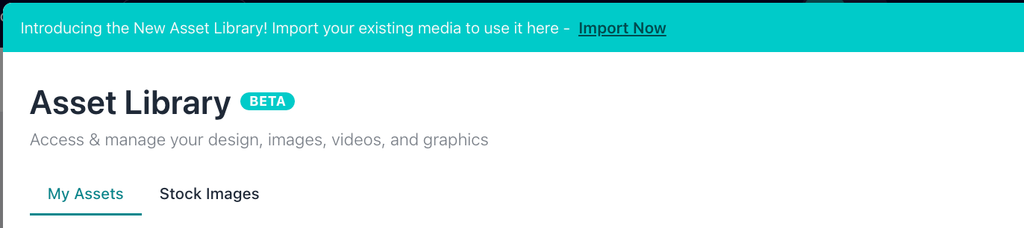
Click “Import Now” to start the process of migrating your existing images from the media library. If you did not have images uploaded to the Media Library in either the Classic or Enhanced editor experiences, you will not see this banner.
After clicking Import Now, you’ll see the total number of images that are being imported and a progress bar showing where in the migration you currently are:
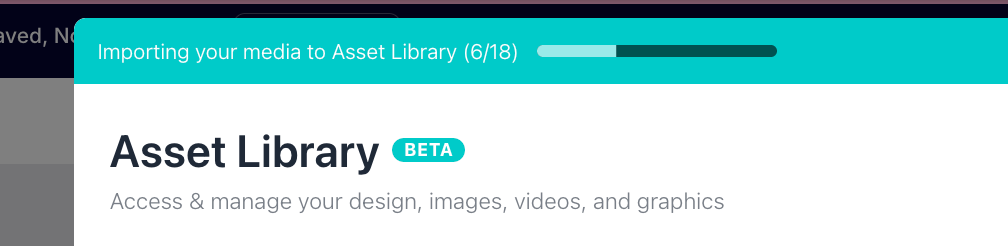
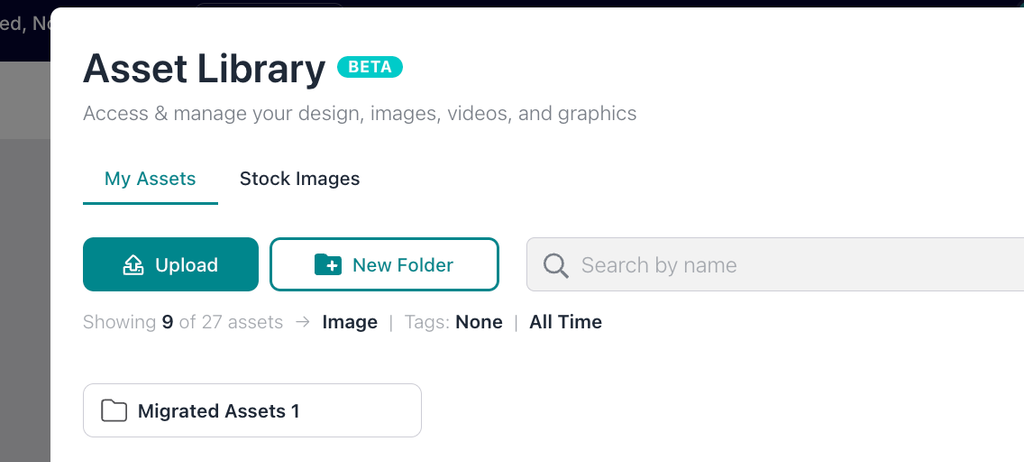
Once completed, your migrated assets will live in a new folder created specifically for those images titled “Migrated Assets”. You can always re-organize your images by dragging and dropping them into other folders as you wish.
Using stock images
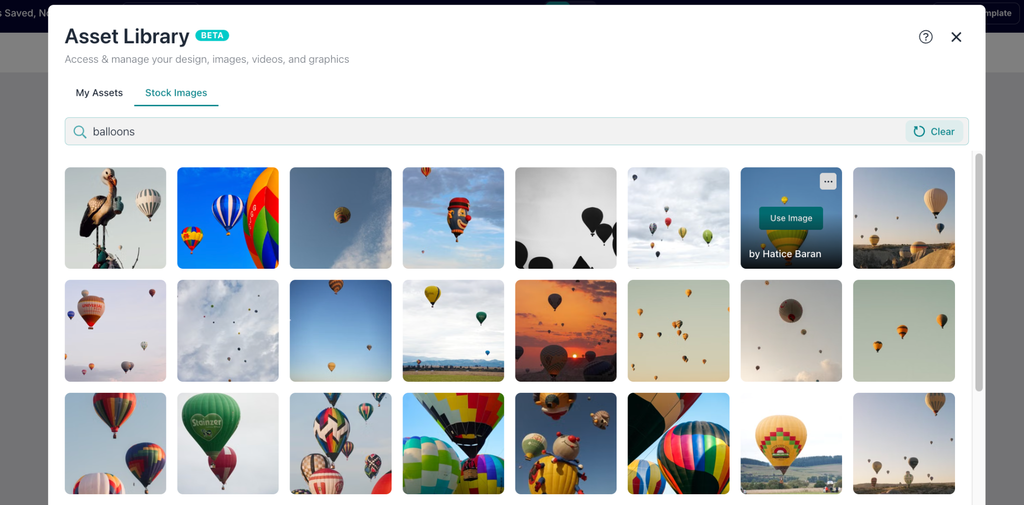
Search from over 2 million royalty-free stock images from within the Asset Library. Hover over an image to use it directly or select the 3 dots (…) in the top right of a specific image and choose Save to Library to keep it in your account library for later use.
Saving a stock image to your library also allows you to manage and edit it like other supported image assets.
Stock icons
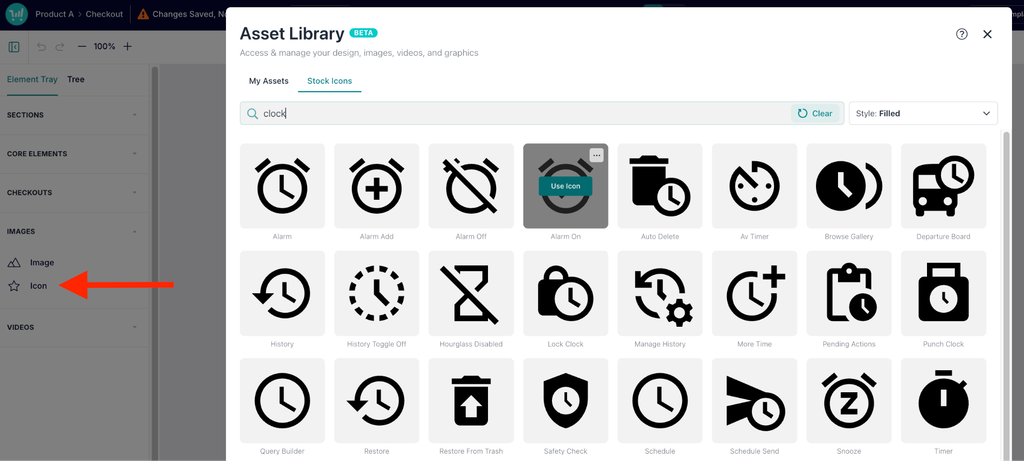
Clicking the Icon element within the ThrivePages editor will open the Icons Asset Library, where you can search for royalty free icons to use on your page.
Search stock icons and filter them by style. Stock icons are SVG assets that can be used on supported page elements or saved to your Asset Library.
Stock icons cannot be edited in ThriveStudio.
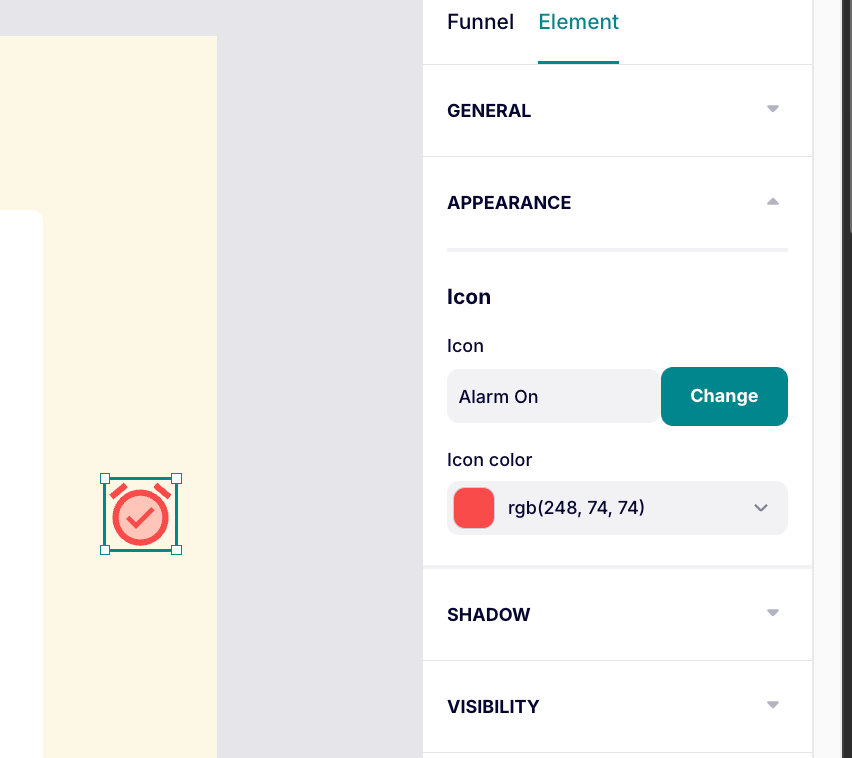
All icons are black by default, but to change an Icon’s color, add it to your ThrivePages page and click into that element to access the Properties panel, where you can set the color:
Editing images in ThriveStudio
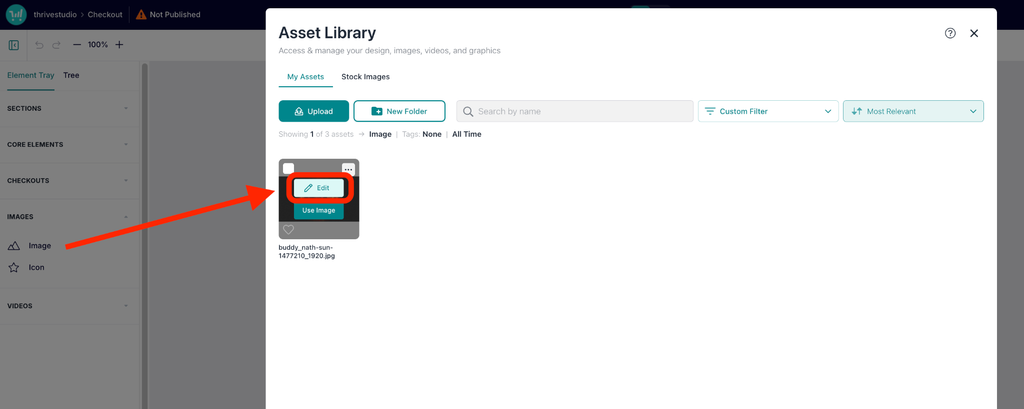
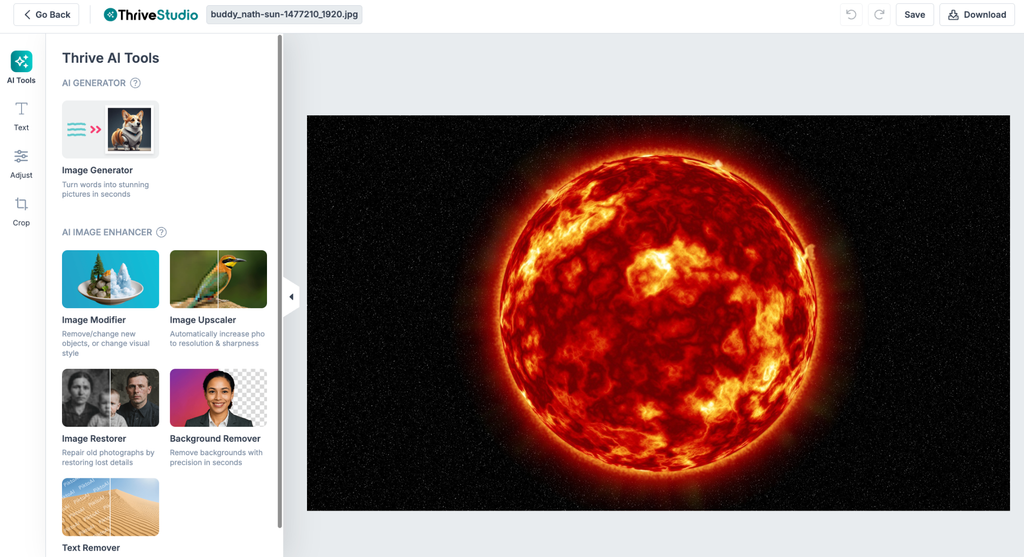
To access AI tools and to customize your image manually, you can hover over the image in your Asset Library and click “Edit” to open the editor.
The image editor includes manual tools such as:
- Adding text
- Adjusting brightness, saturation, contract, etc.
- Resizing
- Cropping
- Applying image adjustments
- Rotating or flipping an image
Text can be added via the “Text” menu item in the left-hand side navigation. When adding a text element to your image, you’ll be able to customize the font, size, color, position when clicking into that text element.
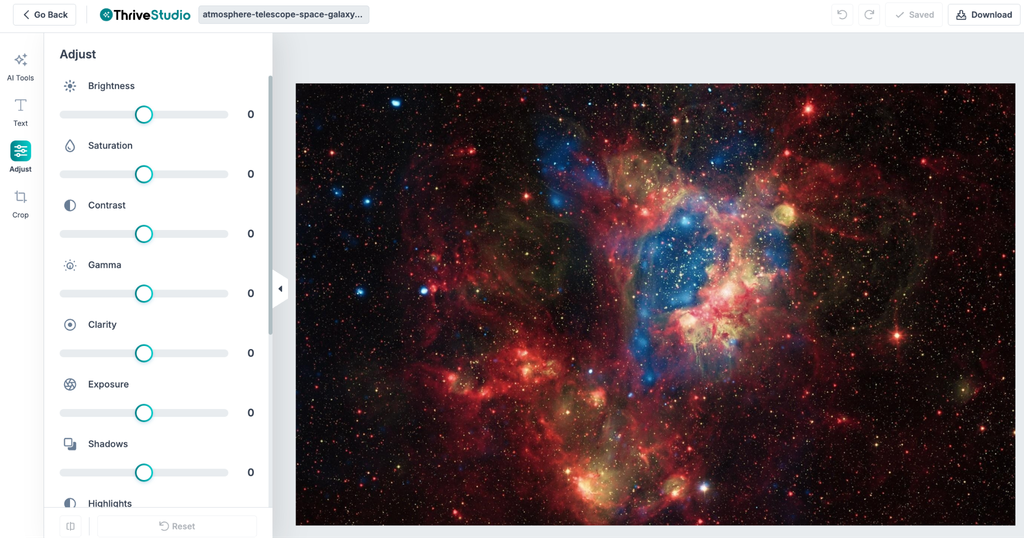
A number of image settings such as exposure, brightness, shadows, highlights, etc. can be adjusted via the “Adjust” menu item.
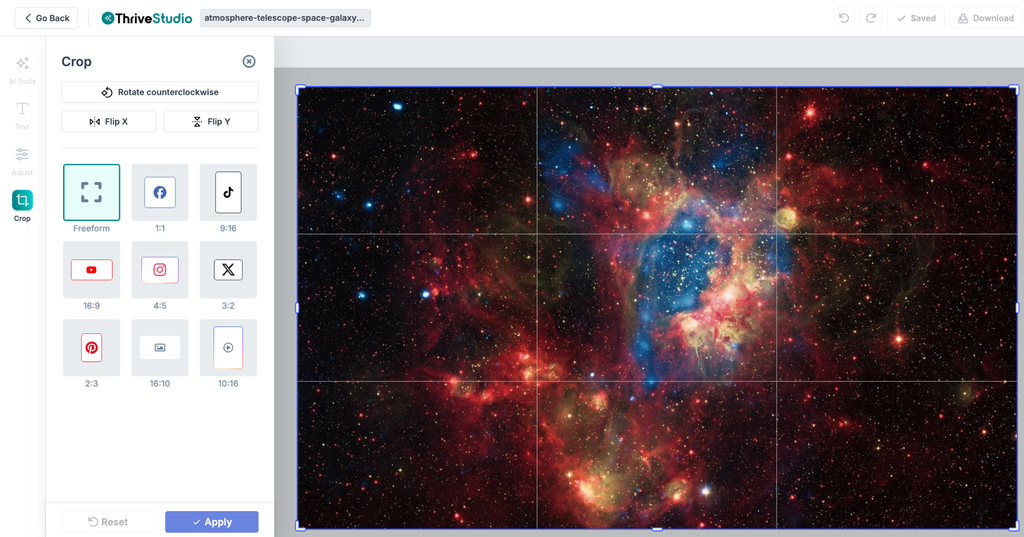
Choose the “Crop” menu item to flip, rotate, or crop your image. Crop can be done freeform, or set to specific social media image sizes.
Choose how to save your changes
When you save an edited image via the “save” option in the top right of the editor, you will see a few options:
- Save & replace original: Replaces the existing image with the edited version.
- Save as new copy: Saves the edited version as a separate asset and keeps the original unchanged.
- Cancel: Leaves the original image unchanged.
If you try to leave the editor with unsaved changes, you’ll see a warning to Discard & Close to leave without saving or Continue Editing to return to the editor.
Editing other asset types
The Asset Library is designed to edit images and supported ThriveStudio designs. Videos, icons, and PDF documents cannot be edited in the Asset Library.
PDF files can be viewed with metadata, page counts, thumbnails, and read-only previews. Whether a PDF can be inserted into a particular ThrivePages element depends on the element type.
Using AI image tools
ThriveStudio includes AI-assisted tools for supported image-editing workflows. Depending on your plan and the image editor experience, available actions may include:
- Image Generator: Generating an image from a text-based description. Enable the Auto Enhance Prompt tool to give your prompt more detail to get the image you’re wanting with less back and forth.
- Image Modifier: Modifying an image with a written instruction, such as erasing unwanted objects from the image or adding elements to the image
- Image Upscaler: Increasing image resolution and sharpness
- Image Restorer: Restoring older or damaged images
- Background Remover: Remove the background colour or imagery from the image
- Text Remover: Removing text or logos from an image
AI credit usage is not the same for every action. For example, modifying an image, removing a background, and upscaling an image may consume different amounts. Check the credit balance and the available action controls before starting an AI edit.
Your monthly credit allowance is shown by your ThriveStudio level:
- Lifetime Accounts: 60 AI credits per month (+2000 credits for existing customers before Tuesday October 13)
- Standard Subscription: 500 AI credits per month (+2000 credits for existing customers before Tuesday October 13)
- Pro+ Subscription: 1,000 AI credits per month (+2000 credits for existing customers before Tuesday October 13)
If you do not have enough credits for an AI action, the AI generation control is disabled. ThriveStudio does not currently provide a separate in-app process for purchasing additional credits. To receive more monthly credits, upgrade to a subscription ThriveCart plan.
Applying assets to ThrivePages
When you select an asset from the Asset Library, ThrivePages applies it to the current page element within your checkout/sales page editor. The asset remains stored in your account library and can be reused on other supported pages.
Replacing an image on one page does not automatically replace every instance of that image elsewhere. If you want to update the image in other pages, select the edited or replacement asset individually on each page that needs to be updated.
FAQs
- Q: How do I open ThriveStudio from ThrivePages?
- A: Open a page in ThrivePages and select an image or supported media element. Use the image or media selector to open the Asset Library, then choose an asset or upload a new one.
- A: Open a page in ThrivePages and select an image or supported media element. Use the image or media selector to open the Asset Library, then choose an asset or upload a new one.
- Q: Can I edit every file in the Asset Library?
- A: No. Images and supported ThriveStudio designs can be edited. Videos, icons, and PDF documents cannot be edited from the Asset Library.
- A: No. Images and supported ThriveStudio designs can be edited. Videos, icons, and PDF documents cannot be edited from the Asset Library.
- Q: Can I edit an image without changing the original?
- A: Yes. Choose Save as new copy after editing. This creates a new asset and keeps the original unchanged.
- A: Yes. Choose Save as new copy after editing. This creates a new asset and keeps the original unchanged.
- Q: Why do I not see my updated image on the live page?
- A: Confirm that:
- You applied the edited or replacement asset to the correct page element.
- You saved the page.
- You published the page.
- You are viewing the correct product and page.
- Your browser is not showing an older cached version (view your page from an incognito browser).
- A: Confirm that:
- Q: Can I use the same image on multiple pages?
- A: Yes. Assets are stored at the account level and can be selected again from supported pages and products.
- A: Yes. Assets are stored at the account level and can be selected again from supported pages and products.
- Q: Can I import assets from the previous media gallery?
- Yes! If you have uploaded images previously when using the Classic or Enhanced editors, you will see a migration banner at the top of the Asset Library. Click Import Now to start the import process and imported images will be added to a newly created folder called “migrated assets”.
- Yes! If you have uploaded images previously when using the Classic or Enhanced editors, you will see a migration banner at the top of the Asset Library. Click Import Now to start the import process and imported images will be added to a newly created folder called “migrated assets”.
- Q: Why can’t I upload a video?
- A: Video hosting is available only on subscription plans. Anyone on a lifetime plan can still embed video to ThrivePages as long as it’s hosted on Youtube, Vimeo, Wistia to use direct URLs, or elsewhere using an HTML block. See more on video elements here.
Related articles
- Getting Started with ThrivePages (Editor 2.0): ThrivePages
- Working with Sections, Elements & Properties
- Configure Funnel Pages – Checkout, Upsells, Success
- ThrivePages Design Tips & Tricks: Build Better Pages Faster
- Mobile Editing in ThrivePages
- Import an Existing Checkout Page into ThrivePages
- ThrivePages Page Settings: SEO, Custom Scripts & Fonts