Effortlessly grow and manage your affiliate program with the ThriveCart Import Affiliates feature, the easiest way to organize and onboard your partners at scale. Whether you’re starting fresh or migrating from another platform, you can quickly add affiliates via CSV or import them directly from your autoresponder. ThriveCart makes it simple to link affiliates to specific products, create accounts manually, and even troubleshoot common setup issues like missing affiliate IDs. With these affiliate management tools, you’ll save time, stay organized, and empower your affiliates to start promoting your offers faster.
Manually adding affiliates to your account is particularly handy if you already have a list of affiliates, or you’re wanting to manually set up an account for an affiliate.
There are 2 methods of adding affiliates manually:
- The first is to import a list of affiliates, either from your autoresponder or a .csv file. This is helpful if you have multiple affiliates.
- The other method is to create your affiliates individually. This gives you a bit more control over the details submitted and is helpful when working one-on-one with someone.
1. Importing a list of affiliates
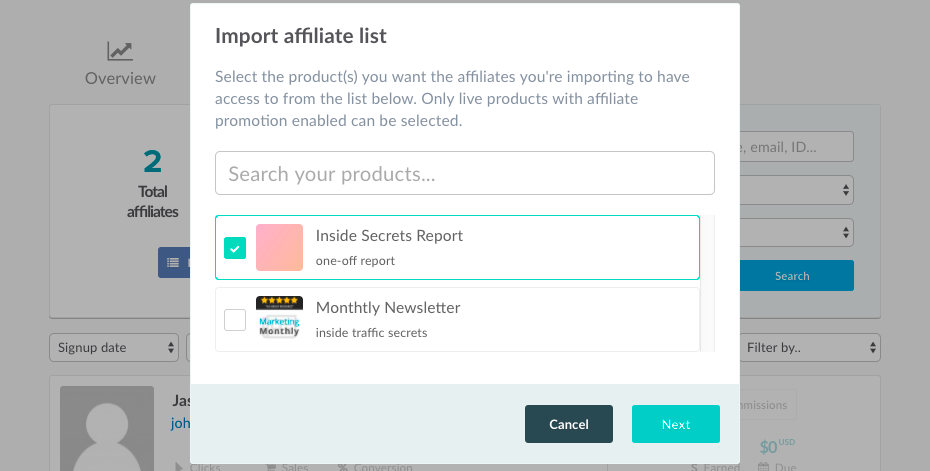
From your affiliates area, click the button ‘import affiliate list’

You can then choose which products to add to your affiliates. You can select multiple products from the list of live products in your account that have affiliate promotion enabled on them already.
The next step is to decide if we’re going to import from a .csv file or from your connected autoresponder.

Importing from an autoresponder
When selecting this option, you will be able to choose your connected autoresponder. In this example, ActiveCampaign is chosen and the option to select the list to import from will be available – where you can import everyone from that specific list to become an affiliate
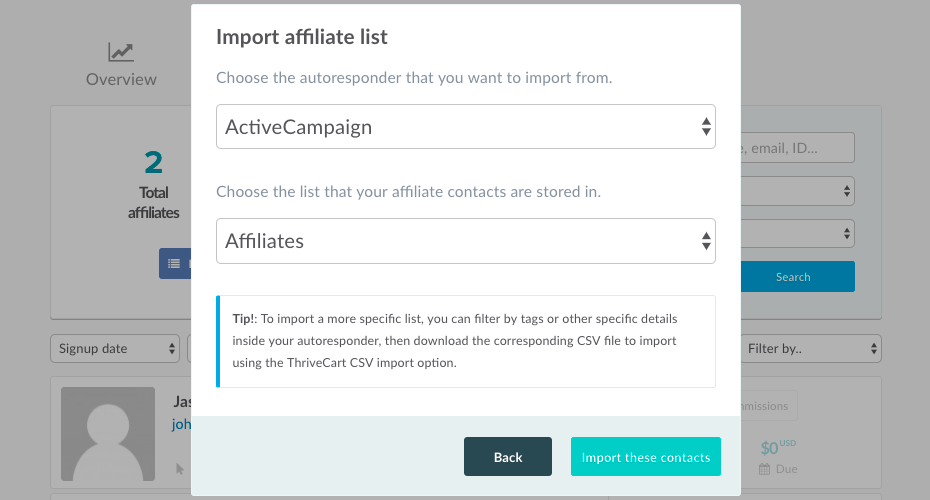
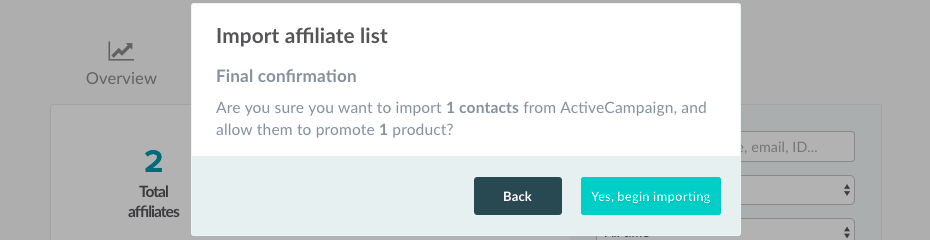
Click ‘Import these contacts’, where you’ll then be able to confirm how many affiliates are being imported and to how many products they are being added to. If you’re happy you can click the ‘Yes, begin importing’ button.
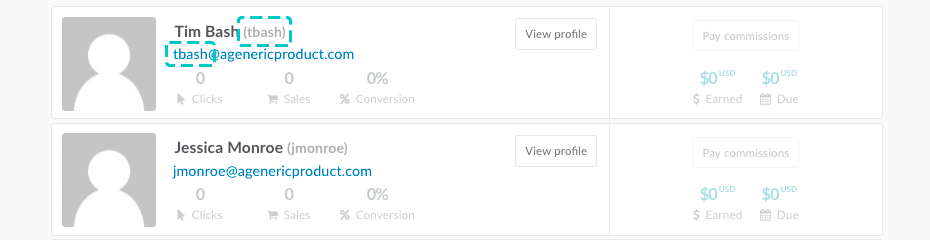
You’ll receive confirmation once the import is complete and your affiliate is added to your affiliate list.
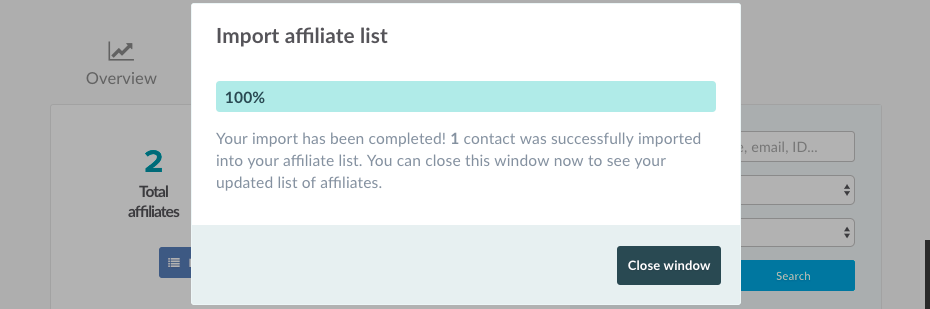
Their affiliate ID is automatically created by using the first part of their email address.
Importing from a CSV
After choosing the products to add affiliates to, if we choose the CSV option we’ll need to upload a CSV file to use by clicking the ‘Select CSV file’ button.
In order to add affiliates via CSV, your file will need to have a header row with name, email and affiliateid as the column headers. ThriveCart will then use this information when creating your affiliates. Any additional columns will be ignored.
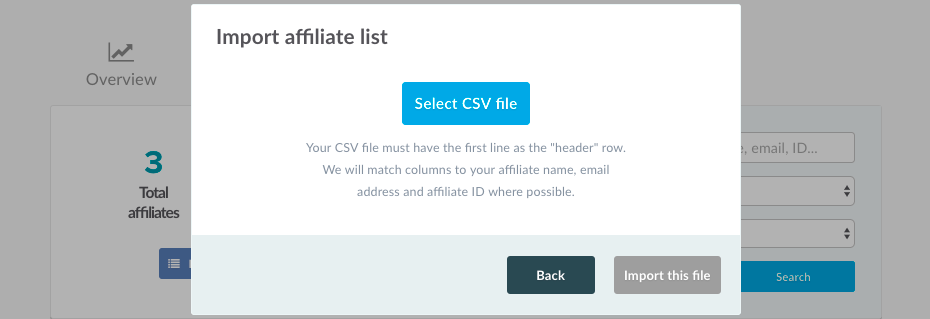
Once selected you will need to click the ‘Import this file’ button.
You’ll then be able to confirm how many affiliates are being imported and to how many products they are being added to. If you’re happy you can click the ‘Yes, begin importing’ button.
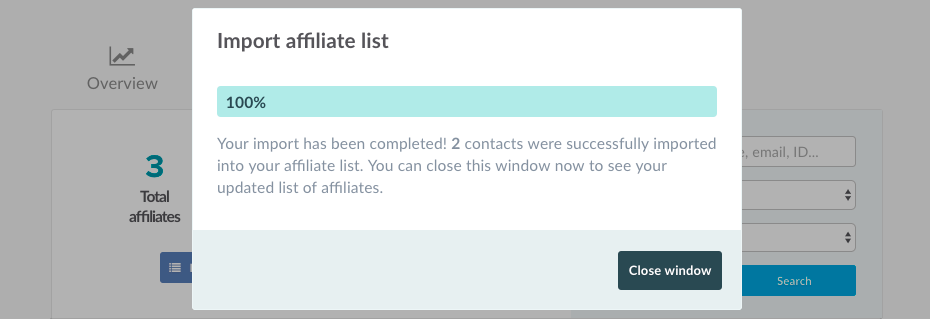
You’ll receive confirmation once the import is complete and your affiliate is added to your affiliate list.

If the affiliate ID from the CSV is already in use by another affiliate in the system, it will then use the first part of the email xxx@mail.com, if that’s in use, it will use their name.
2. Creating a single new affiliate
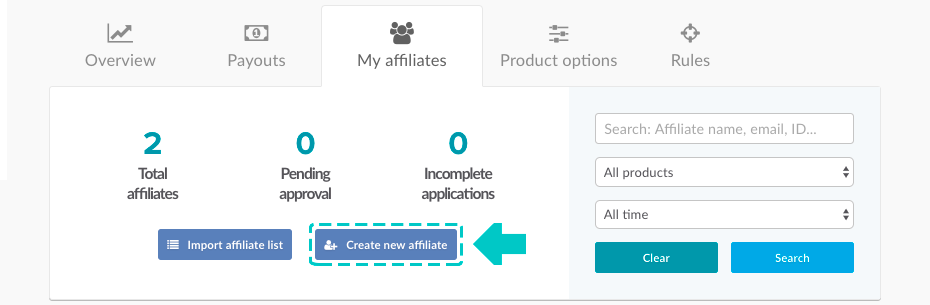
You also have the option of creating a new affiliate manually. This option is best to be used if the affiliate does not already have a ThriveCart account of any type and if you’re looking at manually creating an account for someone instead of them signing up at your partner link.
To create an affiliate manually, you’ll need to click the ‘Create new affiliate’ button.
The first screen we can go through and edit our affiliates details. This information will be used in their ThriveCart profile. Once you’ve set this, you personally won’t be able to edit it, the affiliate will need to log into their account and make any changes.

Once you are happy with the details, you can click the next button to move onto ‘Product access’.
We can choose the products the affiliate will have access to, then we can click save.
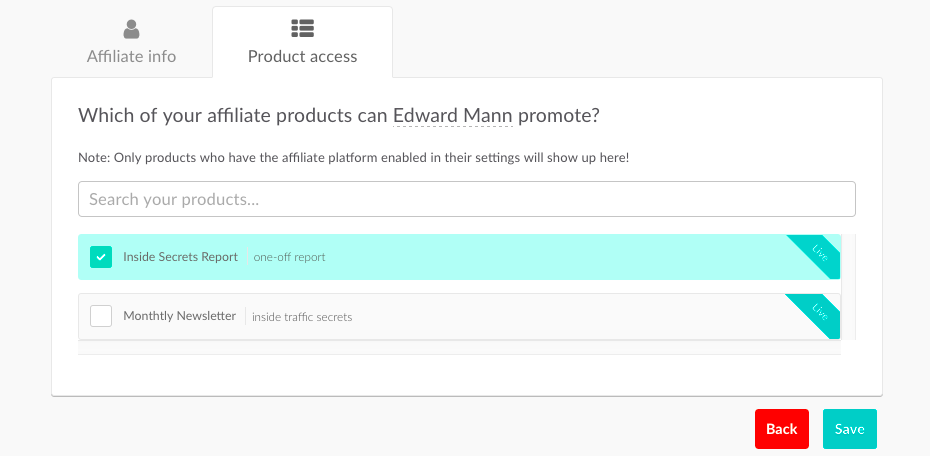
The affiliate will then be setup and have an email sent to them with the link to create their password along with details of the products they now have access to promote.
I’m getting a “You must provide an affiliate ID before registering” error
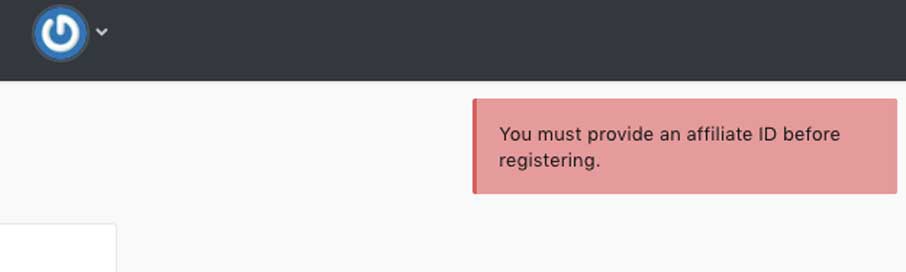
If you’re trying to manually add an affiliate and you’re getting this error and you have completed the Affiliate ID field under the Affiliate info tab, then this will be showing because this user already has a ThriveCart account created under this email address. However, they have not yet completed their affiliate ID in their profile.
(This can happen if the user is a ThriveCart vendor, or has previously been set up as a sub-user to an account).
As the email address is already associated with an account, you can’t edit their account details (setting the affiliate ID in this case) for security reasons. We recommend that you reach out to this affiliate directly and either send them the affiliate signup URL for your product, where on registration they will be required to enter an affiliate ID. Alternatively, you can ask them to set an affiliate ID under their profile and you can then add them to your affiliate program manually.
3. Turn your existing customers into revenue generating affiliates
Customers who are passionate about your product can provide great social proof and therefore turn into great revenue-generating product ambassadors.
Instead of sending existing customers through the sign up flow (detailed here), or manually creating them yourself, you can convert a customers profile into an affiliate account directly from their transaction.
When viewing your transactions, you’ll want to locate the customer you’re wanting to convert into an affiliate, where you can then click “More” to view their customer profile:

From there, you’ll be able to click the “Make Affiliate” button next to their customer details:

This will take you to the affiliate creation page detailed in Step #2 above, but with all of the customer’s information pre-filled with the information they provided in checkout, and you can then grant product access in the next tab as well.

Frequently Asked Questions (FAQs)
- Q: What columns must my CSV file include?
- A: It should have headers name, email, and affiliateid so ThriveCart can create the accounts correctly.
- Q: What happens if the email address is already used in ThriveCart?
- A: Based on the information from the existing email’s profile, the existing account information (e.g. name, affiliate ID) will be reused rather than overwritten.
- Q: Can I edit an affiliate’s personal details after adding them?
- A: No, you cannot edit an affiliate’s personal details. They must update this information within their own account.
- Q: Why am I seeing a “You must provide an affiliate ID…” error when adding an affiliate?
- A: This happens when the affiliate’s email address is already linked to a ThriveCart account but they haven’t set up an affiliate ID yet. To resolve this, you will need to ask your affiliate to set their own affiliate ID, or you can send them your affiliate signup URL so they can enter one during registration.
- Q: I don’t want to manually import affiliates, where can I get the product’s sign up URL to share with affiliates?
- A: There are two places where you can access your product’s signup page URL:
- After saving your product with affiliate promotion enabled on it, via the “Affiliate URL’s” tab seen on that final save screen.
- From your affiliate dashboard, you can navigate to product options > get sign up URL.
- A: There are two places where you can access your product’s signup page URL: