Create a seamless post-purchase experience with ThriveCart Success Page setup, where you can choose between a ThriveCart-hosted success page—customized directly within the drag-and-drop editor—or redirect customers to custom URL on an external site.
Whether you want to display order details, product links, or a personalized thank-you message, this feature gives you full control over your post-purchase automation, helping you deliver a professional, branded experience that keeps customers engaged beyond checkout.
The various types of success page:
- Simply Display their invoice/total breakdown of their purchase on a ThriveCart Hosted Success page (suited for sales where there is no immediate fulfilment, like a physical product or service.
- Provide them with a URL (for download or course access) after their purchase. These links would be listed for all funnel products purchased on the ThriveCart Hosted Success Page
- Redirect to a custom success page on your website
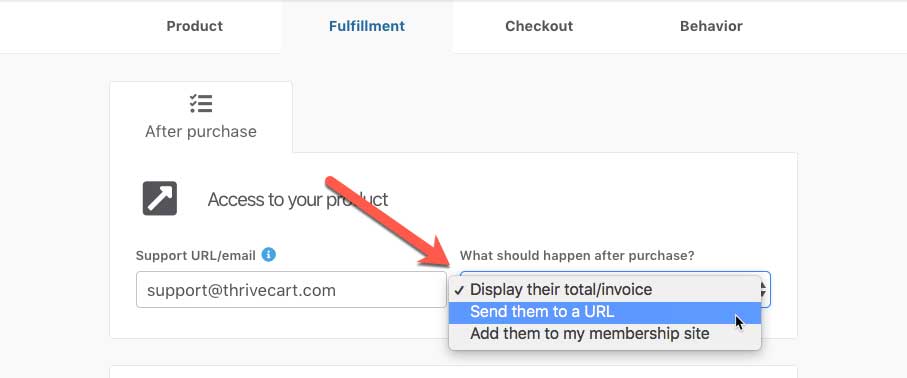
The above options are based on your product’s checkout fulfillment settings. We go into those fulfillment methods in full in our guide on Setting Your Product’s Fulfillment, but in terms of how they affect your success page, they are:
- Display Invoice: Show your customer an invoice/total breakdown of their purchase (usually suited for sales where there is no immediate fulfillment, like a physical product or a service).
***This will be the ThriveCart Hosted success page only. - Send them to a URL: The option to provide them with a URL to their download or access (normally chosen when you want to provide links to resources for each product in your funnel).
***You can use this option for either the ThriveCart Hosted success page, or when redirecting to a custom success page. - Add them to your membership site: The option to automatically add customers to course content and set a membership page login URL (auto-generated for Learn).
***You can use this option for either the ThriveCart Hosted success page, or when redirecting to a custom success page.
Choosing the fulfillment method
Under your Product settings’ Fulfillment tab is where you’d select how the product will be fulfilled, but also how the success page will work.
Showing a customizable success page
By default, ThriveCart will show your customers the customizable success page for all fulfillment options on a ThriveCart Hosted success page, and this page can be edited within the checkout editor. If you’re wanting to use a custom success page on your website, see the “Redirect to your custom page” section below.
The content that will be displayed to your customers on the success page depends on the fulfillment option you’ve selected above.
Display their total/invoice – will show the customer a copy of their purchase details and anything else you add to the success page in our editor.
Send them to a URL – this will show the customers different links for each product they purchase in the funnel. We dynamically update the content on the success page for each customer based on their personal purchase.
Add them to my membership site – Learn will automatically generate a URL for student registration. This will be one URL regardless of how many courses they purchased in the funnel, directing students to one registration page where they can access all Learn courses they’re registered for.
If you are using an external membership site, and no URL is entered in the URL field in your product fulfillment settings, the success page is similar to the invoice/total style. If you add a URL to the field that appears, the success page will also show a link.
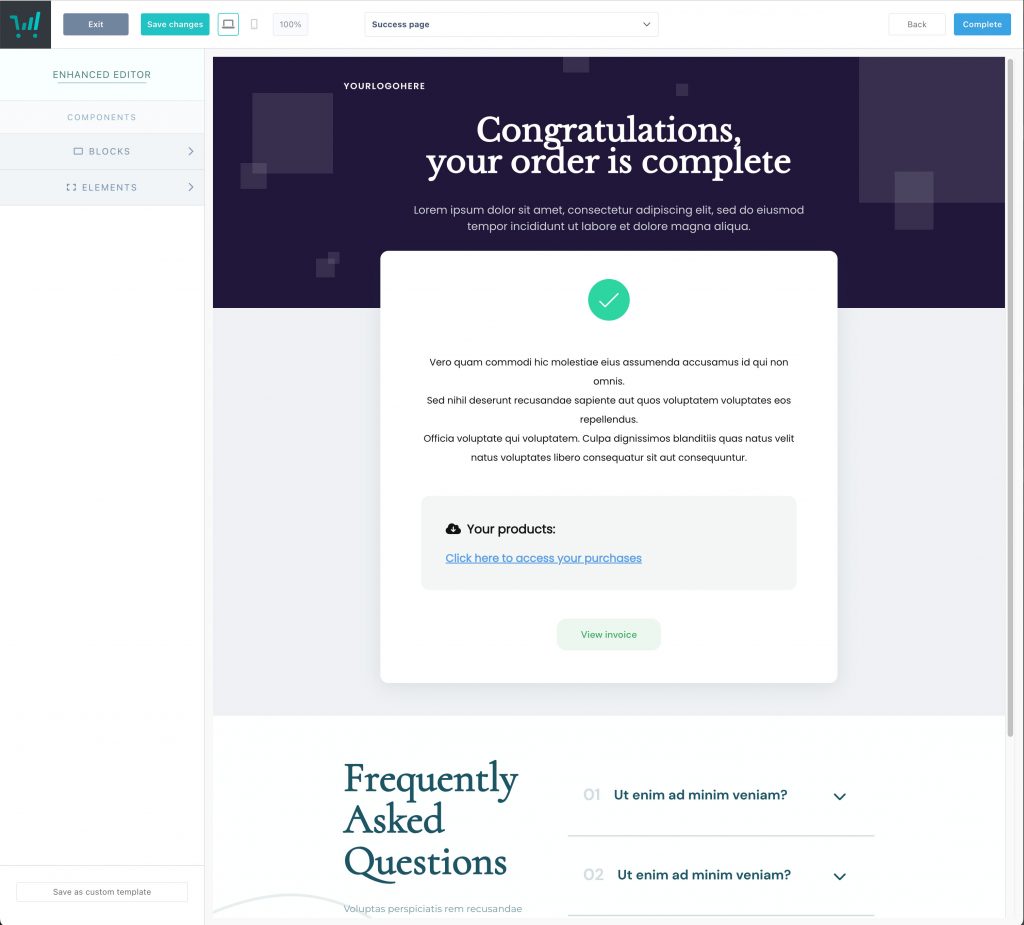
Customize the after order thank you page
You’ll be able to edit this page similarly to how you edit your checkout page, by adding blocks or elements to this page to set your thank you message and branding.
However, the pre-populated success page block itself cannot be deleted. The “Your products” block is formatted based on your product settings and is a static block within the editor.
You can edit the text within this section, but the entire block cannot be removed.
To change the wording on the title of the link, click into that section in the editor directly and customize the text there. For upsells/downsells, you will customize the hyperlinked text when creating the upsell product directly by heading to Products > Upsells, or Products > Downsells, where you can then click into the Fulfillment tab to adjust the success page link title.
We also do not recommend saving this block in full – as attempting to load this in another product could result in duplicate product information sections. Instead, you’ll want to save elements (text, images, etc.) from within this block separately.
Redirect to your custom page
This option is for users who want to automatically redirect their customers to their website after the order completes.
It’s great for advanced users who may want to further customize content on their site based on the customer information and order details as we pass through the order information as part of the redirect, or users who don’t need to show specific customer order information and want a different type of success page.
To redirect to a custom success page, under your product’s fulfilment you must be using one of these options:
- Send them to a URL
- Add them to my membership site
At the top of the editor, if you click the dropdown to view your funnel contents, you’ll want to click the Edit button next to the success page.
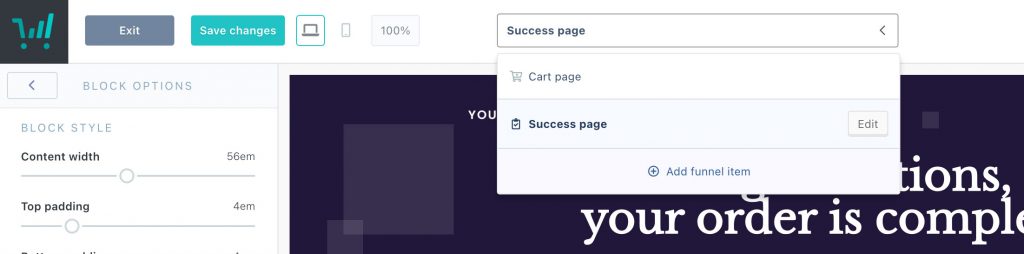
You can then choose whether you’re going to use the default hosted customisable success page, or redirect customers to a URL.

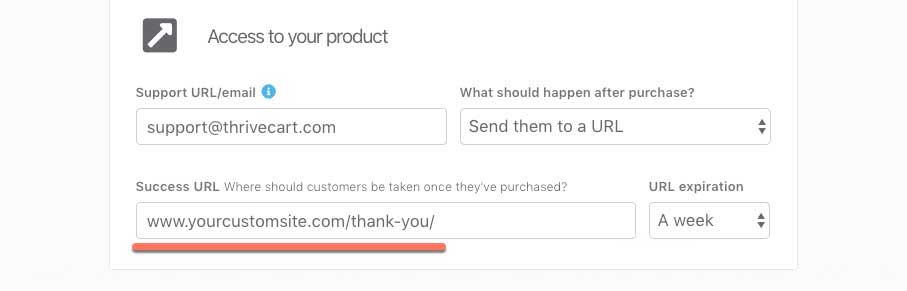
The URL that the platform will redirect to will be based on the fulfillment option you’ve set.
When “Automatically redirect to success URL” is set within your checkout editor, the page will no longer show a customizable success page – meaning that your redirect is set:

“Send them to a URL” will use the URL you enter here
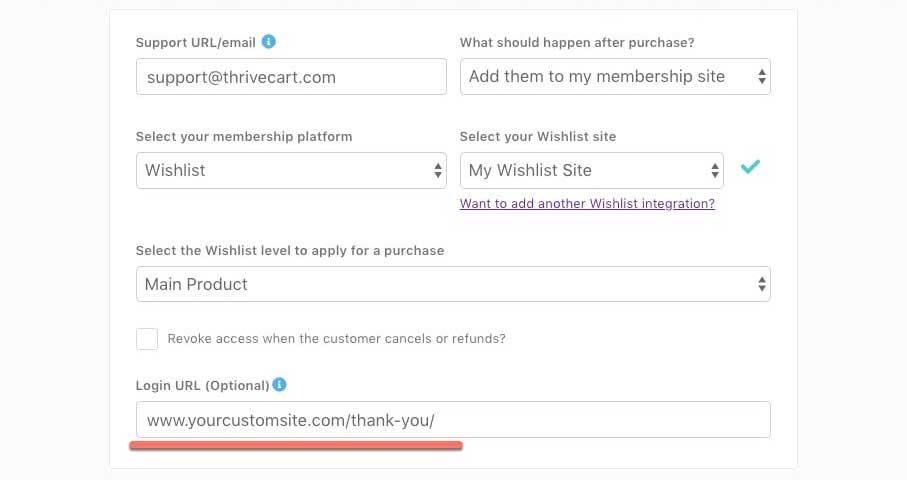
Adding users to my membership platform and redirecting to a custom success page
When using the “Add them to my membership site” fulfillment method, and setting the redirect on the success page settings in editor as seen above, the URL used for the redirect will be the login URL you enter here:
Frequently Asked Questions (FAQs)
- Q: Why isn’t my checkout redirecting to a custom success page?
- A: Your success page will not redirect if you are seeing the full customizable success page in your checkout editor. You’ll want to make sure that you have both options set:
- Using the “send them to a URL” or “Add them to my membership site” fulfillment method, with a URL set
- Edit the success page settings in your checkout editor to “redirect to success page URL”
- A: Your success page will not redirect if you are seeing the full customizable success page in your checkout editor. You’ll want to make sure that you have both options set:
- Q: Can I set a redirect only if they purchase a specific item in the funnel?
- A: No. Our success page redirect functionality would be for the entire funnel and cannot be conditional based on whether a customer purchased a specific item (i.e. bump, upsell, downsell) within that funnel.
- Q: Can I pass through order information to my website when redirecting?
- A: Yes! We will automatically pass through order information to your custom success page, and you’ll be able to work with a developer to access that data via the query string. See more in this guide.
- Q: How can I display dynamic content based on what the customer purchased?
- A: To do this, you’ll want to utilize our query string and write a script on your website side to read that order information. Based on what the customer purchased, your script can then show them related content. See more here.
- A: To do this, you’ll want to utilize our query string and write a script on your website side to read that order information. Based on what the customer purchased, your script can then show them related content. See more here.